


Creating a killer video tutorial is a valuable skill, and this guide will walk you through turning a simple screen capture into an engaging, professional resource. We'll cover everything from the initial plan to the final polish, ensuring your screen recording for tutorials effectively teaches and retains viewers.
Why This Topic Matters
In a world where "show, don't tell" is the new norm, a great tutorial video is your secret weapon. You can explain complicated software, walk through a tricky process, or onboard a new hire far more effectively than with any text-heavy manual. It's all about clarity and making an impact.
The numbers back this up. The global market for screen recording software was already sitting at USD 9.58 billion in 2024, and it's projected to climb. This isn't just a trend; it's a fundamental shift in how we teach and learn, driven by online education and remote work. You can dig into more market growth insights to see just how central video has become. High-quality screen recording builds trust, respects your viewer's time, and establishes you as an expert.
Step-by-Step Guide to Creating a Tutorial Video
A great tutorial doesn’t just happen when you press the record button. In fact, most of the magic happens before you even think about recording. Following a structured process ensures your final video is sharp, helpful, and professional.
Step 1: Plan Your Tutorial for Maximum Impact
This pre-production phase is what separates a clear tutorial from a rambling one. It’s all about setting yourself up for success.
- Define Your Audience: Get laser-focused on who you are talking to. What do they already know, and what problem are they trying to solve right now?
- Set a Learning Objective: A tutorial that tries to teach everything often ends up teaching nothing. Define a single, clear goal for your video.
- Create an Outline or Script: A detailed bullet-point outline is a game-changer for maintaining a logical flow. This is your best defense against going off on tangents. Your outline should have a hook (the problem), the core steps (the solution), and the payoff (the final result).
Step 2: Prepare Your Digital Workspace
Your on-screen environment needs to look professional. A cluttered screen with random icons, personal files, and pop-up notifications instantly distracts the viewer.
- Close every unnecessary application and browser tab.
- Silence all notifications (email, chat, system updates).
- Have any demo files or assets you need open and ready in a dedicated, clean folder.
- Change your desktop wallpaper to something neutral and non-distracting.
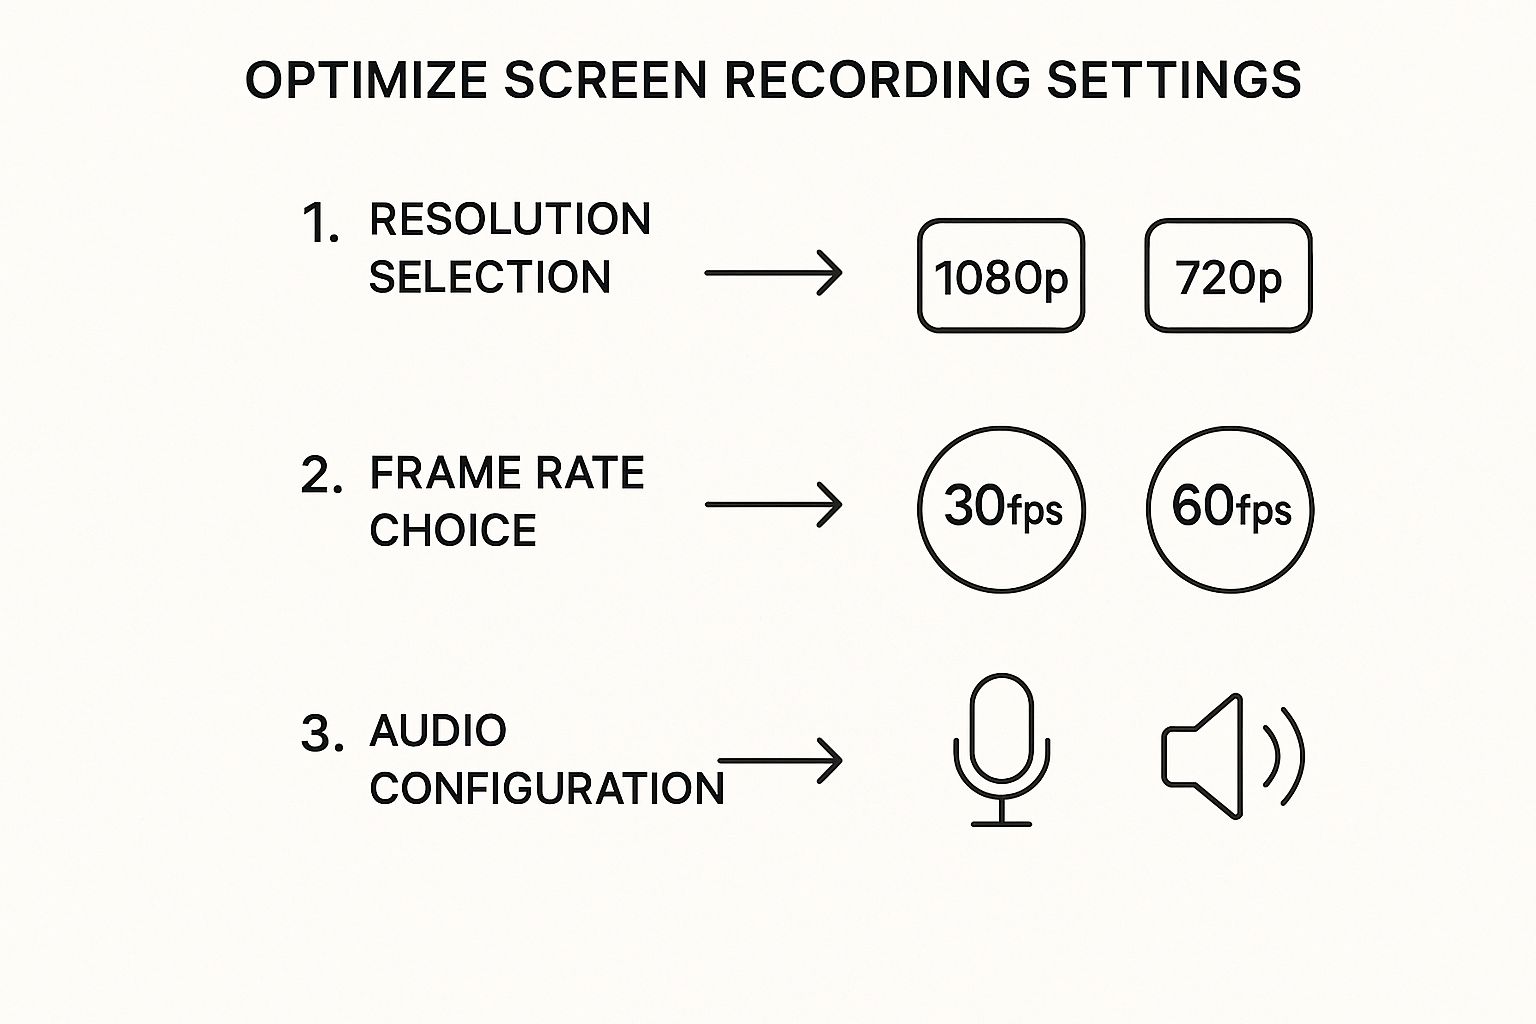
Step 3: Capture a Flawless Screen Recording
With your plan solid and your workspace ready, it's time to record. This is where your prep work shines, letting you concentrate on delivering a smooth tutorial.
- Configure Your Settings: Always aim for Full HD (1920x1080p) as your minimum resolution. For most tutorials, 30 frames per second (fps) is the sweet spot for smooth playback without creating massive files.
- Master Narration and On-Screen Actions: Speak clearly and a little slower than you normally would. Use smooth, deliberate cursor movements to draw the viewer’s eye to specific elements. Highlighting your cursor with a color or effect makes it even easier to follow. For a deeper dive, our guide on how to record a presentation with audio has great tips.
- Do a Test Run: Always do a quick 30-second test recording to check your audio levels and video clarity.
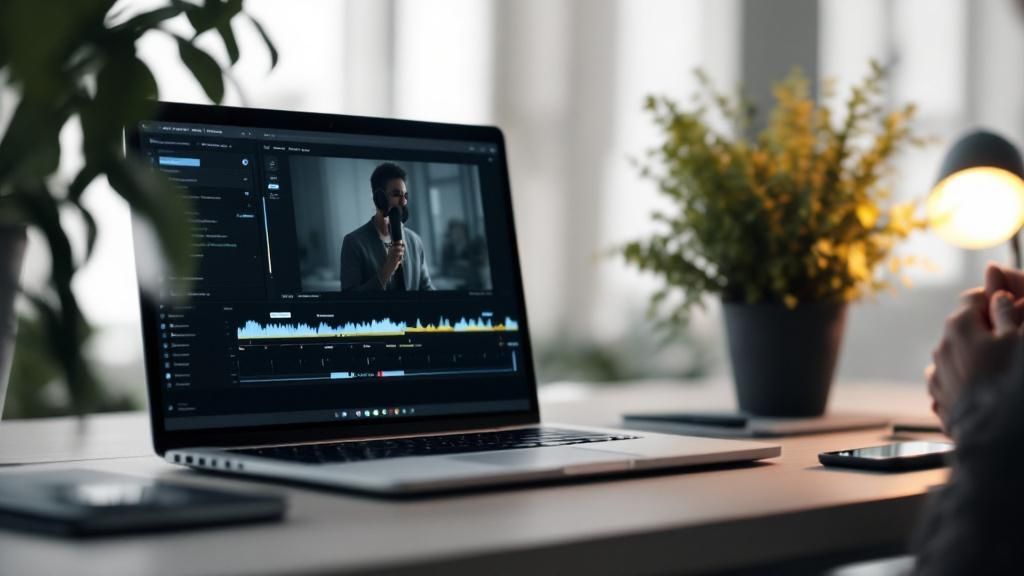
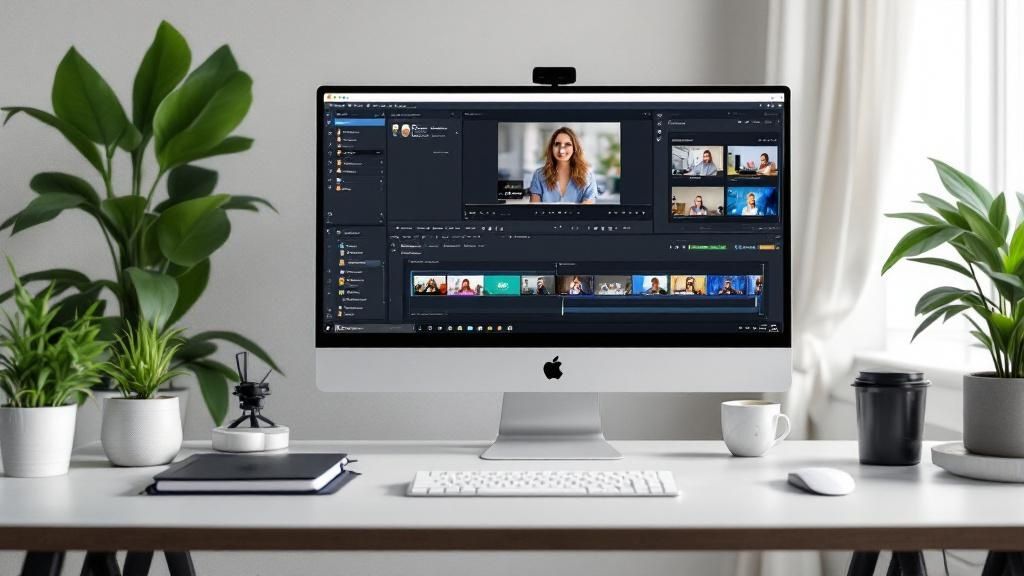
Step 4: Edit Your Tutorial for a Professional Finish
Raw footage is just the starting point. Post-production is where you transform a decent take into a great tutorial. The goal is to create a seamless, engaging experience.
- Trim and Polish: Be ruthless. Cut out awkward pauses, "ums" and "ahs," and moments where software was slow to load. A tight edit creates a confident, snappy pace that respects your viewer's time.
- Enhance with Visuals: Use annotations strategically. Add text callouts to point out buttons, use zoom and pan effects to focus on critical areas, and draw simple circles or boxes to highlight key elements.
- Perfect Your Audio: Use your editing software’s noise reduction to filter out background hum and volume leveling to ensure your voice stays at a consistent, comfortable level. Bad audio will ruin a great video.

Tips and Best Practices
To elevate your screen recording for tutorials from good to great, keep these expert tips in mind.
- Prioritize Crystal-Clear Audio: If your audio is muffled, full of static, or has a dog barking in the background, people will click away. No exceptions. It's often more important than the video quality.
- Embrace the Pause: It's natural to pause to gather your thoughts. Don't sweat it during the recording. These moments of silence are incredibly easy to snip out in editing and are far better than filling the air with "ums" and "ahs."
- Use Keyboard Shortcuts: Learn the hotkeys for starting, pausing, and stopping your recorder. This lets you control the recording without your mouse cursor zipping out of the tutorial area, resulting in a cleaner video.
- Think Like Your Viewer: A professional tutorial does more than just show steps; it guides the viewer, anticipates their questions, and removes friction from the learning process.
Examples of Screen Recording for Tutorials
Screen recording is incredibly versatile. Here are a few real-world applications where a well-made tutorial can make a huge impact:
- Software Demonstrations: Instead of trying to describe how a piece of software works, you can simply show it. A marketing team can create a single tutorial on a new analytics tool for everyone to reference. A walkthrough of a new feature is a perfect use case, like this guide on how to screen record on Chrome.
- Employee Onboarding and Training: Create a library of tutorials that cover company processes, software usage, and department-specific tasks. New hires can learn at their own pace, reducing the training burden on senior staff.
- Customer Support and Troubleshooting: When a customer has a problem, a support agent can record a quick, personalized walkthrough to solve their exact issue. This is far more effective than a long email and can be a go-to resource that slashes repetitive questions.
- Educational Content and Online Courses: For educators, screen recording is essential for creating dynamic lessons. You can easily embed a recorded demo into a slide deck to illustrate a point. For more on that, see how to screen record a slideshow.
FAQ
Even with the best plan, you might have a few questions. Here are answers to some of the most common ones.
What is the best resolution for a tutorial video?
For almost any tutorial you'll upload online, 1080p (1920x1080 pixels) is the sweet spot. It's the standard for high-definition and ensures all the little details—like on-screen text or tiny interface buttons—are perfectly crisp and readable. While you can go higher (to 1440p or 4K) for highly detailed work, 1080p offers the perfect balance of professional quality and manageable file size.
How can I improve my audio quality without expensive gear?
You don't need a high-end studio. First, quiet your recording space by using a room with soft furnishings like carpets and curtains to absorb echo. Second, a decent USB microphone is a huge upgrade over your laptop's built-in mic. Finally, use the basic noise reduction and audio normalization tools in your editing software. These free or low-cost steps make a world of difference.
Should I script my tutorial or speak spontaneously?
The best approach is somewhere in the middle. A word-for-word script can sound robotic, while going completely off-the-cuff can lead to rambling. The method most pros use is a detailed bullet-point outline. It provides structure to ensure you cover every key point in order, but leaves room for a natural, conversational delivery. For more advice, check out our professional presentation recording tips.
What is the ideal length for a tutorial video?
While it depends on the topic's complexity, shorter is almost always better. Viewer attention starts to drop off significantly after the 10-15 minute mark. If you have a complex subject, break it down into a series of shorter, focused videos organized into a playlist. This makes your content more digestible and allows viewers to jump straight to the solution they need.
Conclusion
Mastering screen recording for tutorials comes down to thoughtful planning, clean execution, and polished editing. By defining your audience, preparing your workspace, using the right settings, and enhancing your footage with clear audio and visuals, you can create a resource that not only teaches but also builds trust and authority. Don't just hit record; follow these steps to create a tutorial that truly helps people.
Take the Next Step
Ready to create tutorials that engage and educate? With ShotVu, you get one-click recording, an integrated teleprompter, and instant sharing to make your video creation process faster and more professional. Start recording with ShotVu today.