


How to Take a Screenshot on an HP Laptop: A Step-by-Step Guide

Learn how to take a screenshot on a N HP laptop with this simple guide. Master keyboard shortcuts and capture your screen effortlessly.
Learning how to take a screenshot on an HP laptop is an essential skill that streamlines communication and boosts productivity. The quickest method is pressing the Windows Key + Print Screen (PrtScn), which instantly captures your full screen and saves it to your "Screenshots" folder. This guide will walk you through this and other powerful methods, from basic shortcuts to precision captures with built-in tools.
Why This Topic Matters
In today's digital world, where much of our work and communication happens on-screen, knowing how to take a screenshot is non-negotiable. It's the fastest way to save a receipt, report a technical issue to IT with visual proof, or share a key piece of information from a presentation. A screenshot provides clear, immediate context that words alone often can't, saving you time and preventing miscommunication. Mastering this skill is a simple way to make your daily workflow more efficient.

A Step-by-Step Guide to Taking Screenshots on an HP Laptop
Your HP laptop, powered by Windows, offers several built-in methods to capture your screen. Each is suited for a different task, from grabbing a quick snapshot of everything to selecting a specific area with precision.
Method 1: The Print Screen (PrtScn) Key for Full-Screen Captures
The Print Screen key, often labeled PrtScn or PrtSc, is the original method for screen capture.
- Press
PrtScn: This captures your entire screen and copies it to your clipboard (a temporary storage area). It does not save a file automatically. - Press
Alt + PrtScn: This is a more focused variation. It captures only the active window (the application you are currently using) and copies it to the clipboard. This is perfect for isolating a specific program without showing your desktop. - Paste and Save: Open an application like Microsoft Paint, Word, or an email client and press Ctrl + V to paste the image. From there, you can edit it and save it as a file (e.g., a PNG or JPEG).
Method 2: The Windows Key Shortcut for Automatic Saving
For the fastest, no-fuss screenshot, this is the shortcut to use.
- Press
Windows Key + PrtScn: This combination captures your entire screen. - Automatic Save: The screen will briefly dim to confirm the capture, and the image is automatically saved as a PNG file in your Pictures > Screenshots folder. There is no need to paste or save it manually.
Method 3: The Snipping Tool for Precision and Editing
When you need to capture a specific part of your screen, the Snipping Tool is your best friend.
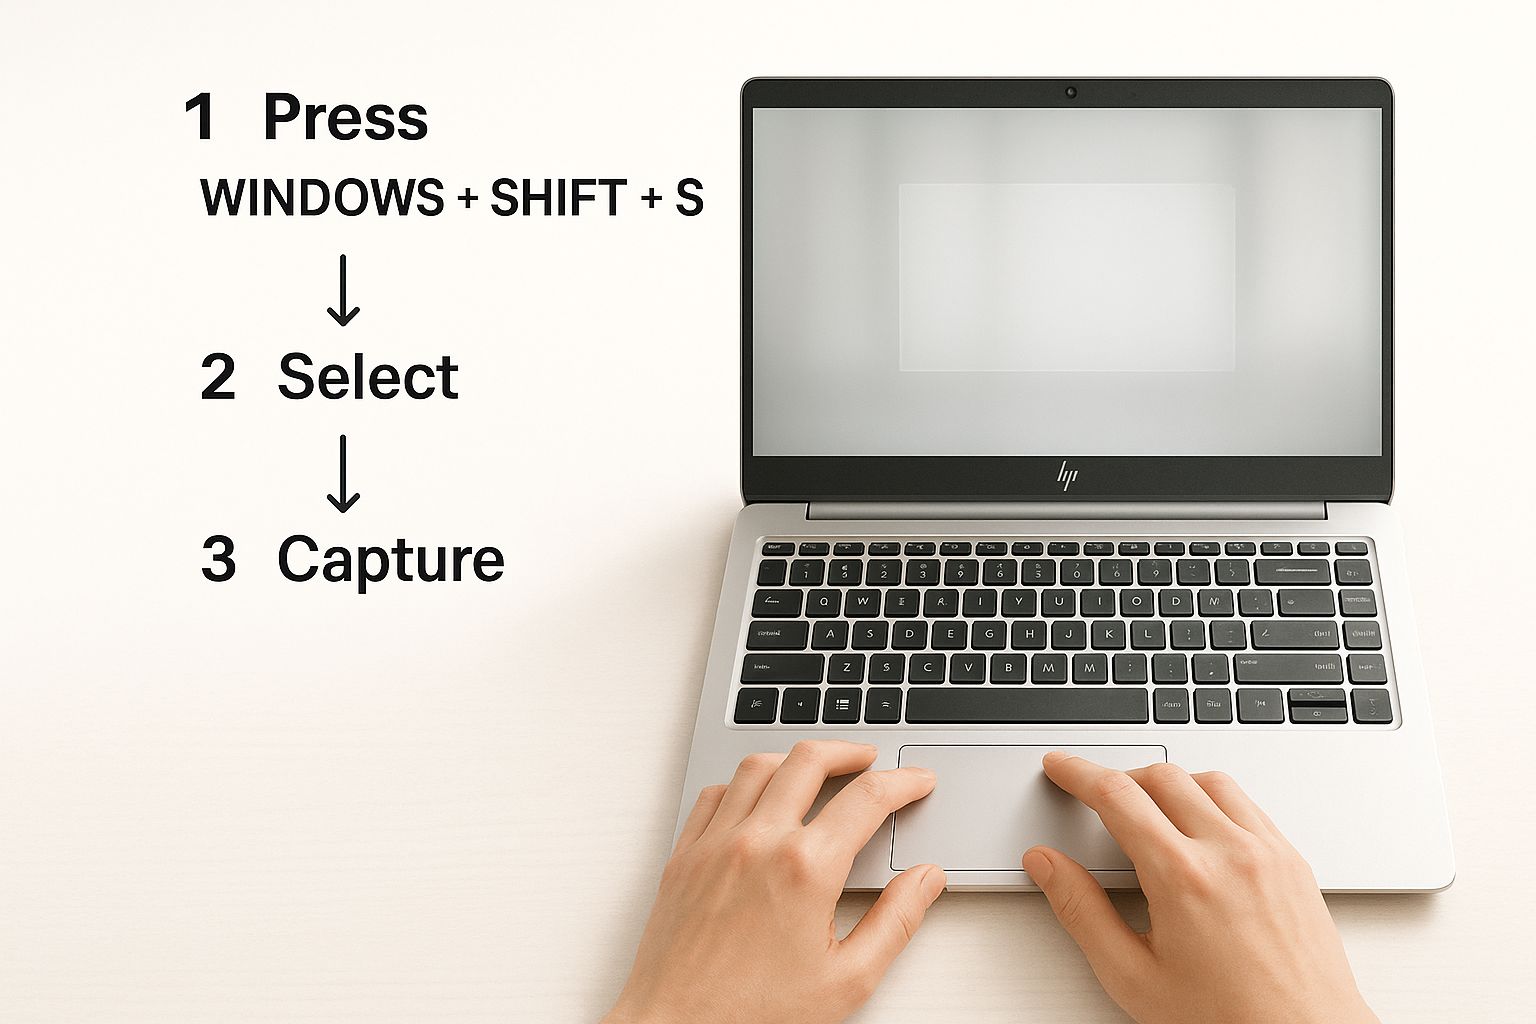
- Launch the Tool: Press
Windows Key + Shift + S. Your screen will darken, and a small toolbar will appear at the top. - Choose a Capture Mode:
- Rectangular Snip: Drag your cursor to draw a box around the area you want to capture.
- Free-form Snip: Draw any custom shape with your mouse.
- Window Snip: Click on a specific window to capture just that window.
- Full-screen Snip: Captures your entire screen.
- Edit and Save: After you make your selection, the image is copied to your clipboard. A notification will also pop up; click it to open the Snipping Tool editor, where you can annotate with a pen, highlighter, and then save the file.
This foundational knowledge is key, and you can learn more about advanced techniques in our guide on how to take a screenshot in Windows 11.
Tips and Best Practices
To turn your screenshots from simple captures into effective communication tools, keep these tips in mind.
- Keep It Clean: Before taking a screenshot for professional use, minimize any unnecessary windows or applications. A clean desktop makes your screenshot look more professional and keeps the focus on the important information.
- Protect Your Privacy: Always double-check your screen for sensitive information like passwords, private messages, or confidential documents before you capture and share an image.
- Use the Right Shortcut for the Job: Don't just default to
PrtScn. UseWindows + Shift + Sfor custom selections to save yourself cropping time later. UseWindows + PrtScnwhen you need a full-screen image saved instantly. - Organize Your Files: Create a dedicated folder for your screenshots and use descriptive filenames (e.g.,
ProjectName_Error_Date.pnginstead ofScreenshot(1).png). This will save you from searching through a cluttered folder later. - Always Save as PNG for Clarity: When saving screenshots that contain text, always choose the PNG format over JPG. PNG preserves the sharpness of text and lines, ensuring your image is crisp and easy to read.
Examples of When to Use Each Method
Understanding which tool to use in different scenarios will make you much more efficient.
-
Scenario 1: Documenting a Software Error
- Goal: You need to send a clear image of an error message to your IT department.
- Best Method: Use
Alt + PrtScn. This captures only the error message window, providing a clean, focused image without your desktop background or other open apps. You can then paste it directly into an email or support ticket.
-
Scenario 2: Saving an Online Receipt
- Goal: You need a quick, permanent record of an online purchase confirmation.
- Best Method: Use
Windows Key + PrtScn. This instantly saves a full-screen image of the confirmation page to your "Screenshots" folder. It's the fastest way to get a saved file without extra steps.
-
Scenario 3: Creating a How-To Guide
- Goal: You want to show a colleague how to use a specific feature by highlighting a button.
- Best Method: Use
Windows Key + Shift + Sto capture a specific part of the application. Then, click the notification to open the editor, use the pen tool to circle the button, and add a quick note. This creates a clear, annotated visual instruction. More on this can be found in our guide on how to use the Snipping Tool for recording.

FAQ: Frequently Asked Questions
Here are answers to some of the most common questions about taking screenshots on an HP laptop.
1. Where do my screenshots go on an HP laptop?
This depends on the method you use. If you press PrtScn or Alt + PrtScn, the image is copied to your clipboard, and you must paste it into an application to save it. If you use Windows Key + PrtScn, the image is automatically saved as a file in the Pictures > Screenshots folder. Using Windows Key + Shift + S copies the snip to your clipboard and lets you save it from the editor.
2. Why is my Print Screen key not working?
There are a few common reasons. First, some HP laptops require you to press the Fn key simultaneously with PrtScn. Second, check if a cloud storage program like OneDrive or Dropbox has taken over the key's function; you can disable this in the app's settings. Lastly, an outdated keyboard driver could be the cause, which can often be fixed by running Windows Update.
3. How do I take a scrolling screenshot on my HP laptop?
The built-in Windows tools on your HP laptop do not have a native scrolling screenshot feature. They can only capture what is currently visible on your screen. To capture a full webpage or a long document, you will need to use a third-party browser extension or a dedicated screen-capture application designed for this purpose. You can learn more by exploring the three main ways to take a screenshot.
4. Can I change where my screenshots are saved automatically?
Yes. For screenshots taken with Windows Key + PrtScn, you can change the default save location. Right-click on the "Screenshots" folder (inside your "Pictures" folder), select "Properties," go to the "Location" tab, and click "Move..." to choose a new destination.
5. What is the best format to save a screenshot?
For most screenshots, especially those containing text, PNG is the best format. It uses lossless compression, meaning it preserves all the detail and keeps text and lines sharp and clear. JPG is better for photographs but can create blurry artifacts on images with sharp edges and text.
Conclusion
You now have a complete toolkit for taking any kind of screenshot on your HP laptop. From the instant full-screen capture of Windows Key + PrtScn to the precise selection of the Snipping Tool (Windows Key + Shift + S), these built-in tools are all you need for clear and effective communication. The key is to practice these shortcuts until they become second nature, turning a tedious task into a quick, seamless action that saves you time and effort every day.
Ready to move beyond static images? With ShotVu, you can record your screen, webcam, and voice with one click to create clear, engaging video messages that replace lengthy emails and meetings. Start communicating more effectively today. Get started with ShotVu