


How to Screen Record with Audio on Mac – Easy Step-by-Step Guide

Learn how to screen record with audio on Mac effortlessly. Follow our simple guide to capture your screen with sound today!
Introduction
Need to capture what's happening on your Mac screen along with audio? This guide will show you how to screen record with audio on Mac using the powerful, free tools already built into your system. We’ll cover everything from quick microphone recordings to capturing your Mac’s internal system audio for a complete, professional-sounding video.
Why This Topic Matters
Knowing how to screen record with audio on your Mac is an essential skill in today's digital world. A screen recording without clear sound is often just visual noise. High-quality audio is what turns a confusing video into an impactful tutorial, transforms a silent gameplay clip into an engaging highlight reel, and makes a software demo understandable. For students, educators, and professionals, mastering this skill is key to creating content that effectively communicates your message.
Step-by-Step Guide to Screen Recording with Audio
Your Mac comes with two primary built-in tools for screen recording: the Screenshot Toolbar and QuickTime Player. Here’s how to use them to capture your screen with different audio sources.
Method 1: The Screenshot Toolbar for Quick Microphone Recordings
For moments when you need to start recording your screen and voice immediately, the Screenshot Toolbar is your best friend.
- Open the Toolbar: Press Shift-Command-5 on your keyboard. A control panel will appear at the bottom of your screen.
- Select Your Recording Area: Choose to record the entire screen (icon with a solid border) or a selected portion (icon with a dotted border).
- Choose Your Microphone: Click the "Options" dropdown menu. Under the "Microphone" section, select your Internal Microphone or any connected external microphone.
- Start Recording: Click the "Record" button. A stop icon will appear in your menu bar. Click it when you are finished.
This method is perfect for narrating a presentation, giving video feedback, or creating a quick tutorial. However, it cannot capture your Mac’s internal system audio (sounds from apps or videos).
Method 2: Using QuickTime Player for More Control
QuickTime Player offers a bit more control and is ideal for more deliberate recordings.
- Launch QuickTime Player: Open your Applications folder and find QuickTime Player, or use Spotlight Search (Command + Spacebar).
- Start a New Recording: In the top menu bar, click File > New Screen Recording. This will open the same control panel as the Shift-Command-5 shortcut.
- Configure Audio: Click "Options" and select your desired microphone. This is a critical step to ensure your voice is captured.
- Record and Save: Click "Record" to begin. When you're done, click the stop button in the menu bar. QuickTime will open the video and prompt you to save the file, giving you control over its name and location.
Method 3: Capturing Your Mac's Internal System Audio
Recording internal audio (like from a YouTube video or a game) is the biggest challenge on a Mac due to Apple's privacy restrictions. While QuickTime can't do this natively, a free third-party audio utility can route your system audio so it can be recorded.
- Install an Audio Routing Utility: This tool creates a "virtual" audio device that can capture your Mac's sound output.
- Configure Your Audio Output:
- Open the Audio MIDI Setup app (found in
Applications > Utilities). - Click the + icon in the bottom-left corner and select Create Multi-Output Device.
- In the new device panel, check the boxes for both your primary speakers (e.g., MacBook Pro Speakers) and the virtual audio utility you installed.
- Right-click the new "Multi-Output Device" and select Use This Device For Sound Output.
- Open the Audio MIDI Setup app (found in
- Record with QuickTime:
- Open QuickTime and start a New Screen Recording.
- In the "Options" menu, select the new virtual audio device as your "Microphone."
- Click "Record." QuickTime will now capture all system sounds. For more details, see our guide on how to record your screen on a Mac with internal audio.
Tips and Best Practices
- Prepare Your Workspace: Before recording, close unnecessary applications, hide desktop icons, and enable "Do Not Disturb" mode to prevent interruptions. A clean screen keeps the focus on your content.
- Do a Test Recording: Always record a 10-second test to check your audio levels and ensure you've selected the correct microphone. This simple step can save you from re-recording a long video.
- Improve Audio Quality: While the built-in mic works, an external USB microphone will significantly improve clarity and reduce background noise. Position the mic 6-12 inches from your mouth for the best results.
- Grant Permissions: macOS requires you to grant permission for apps to access your screen and microphone. Go to System Settings > Privacy & Security and enable access for "Screen & System Audio Recording" and "Microphone" for QuickTime Player. You can learn more about managing these access settings.
- Use Basic Edits: Don't worry about small mistakes. After recording, use QuickTime's built-in trim tool (Edit > Trim or Command + T) to cut out unwanted sections from the beginning or end of your video.
Examples and Use Cases
- Creating Software Demos: Record your screen while narrating a walkthrough of an application. Capturing system sounds like button clicks provides essential user feedback.
- Recording Online Lectures or Meetings: Capture both the visual presentation and the audio from all participants to create a comprehensive record for later review.
- Producing Educational Content: Explain a complex topic by recording a presentation or a browser window, using your voiceover to guide students through the material.
- Saving Gameplay Highlights: Record your gaming session with in-game audio to capture epic moments and share them with friends or on streaming platforms.
FAQ
Why is my Mac screen recording not recording audio? This is a common issue. The most likely reasons are: you forgot to select a microphone in the "Options" menu before recording, or you haven't granted QuickTime Player permission to access your microphone in System Settings. If you're trying to record system audio, remember that macOS requires a third-party utility for this. Learn more about Mac audio recording issues here.
How do I screen record on a Mac with both internal audio and microphone? This requires an advanced setup. You would need an audio utility to create an "Aggregate Device" in the Audio MIDI Setup app. This device combines your microphone input and the system audio input into a single source that you can then select in QuickTime.
Can I record my screen and webcam at the same time? QuickTime Player cannot do this in a single recording. The workaround is to open two instances of QuickTime: one for a "New Screen Recording" and another for a "New Movie Recording" (which uses your webcam). You can then combine the two video files later using an editor like iMovie.
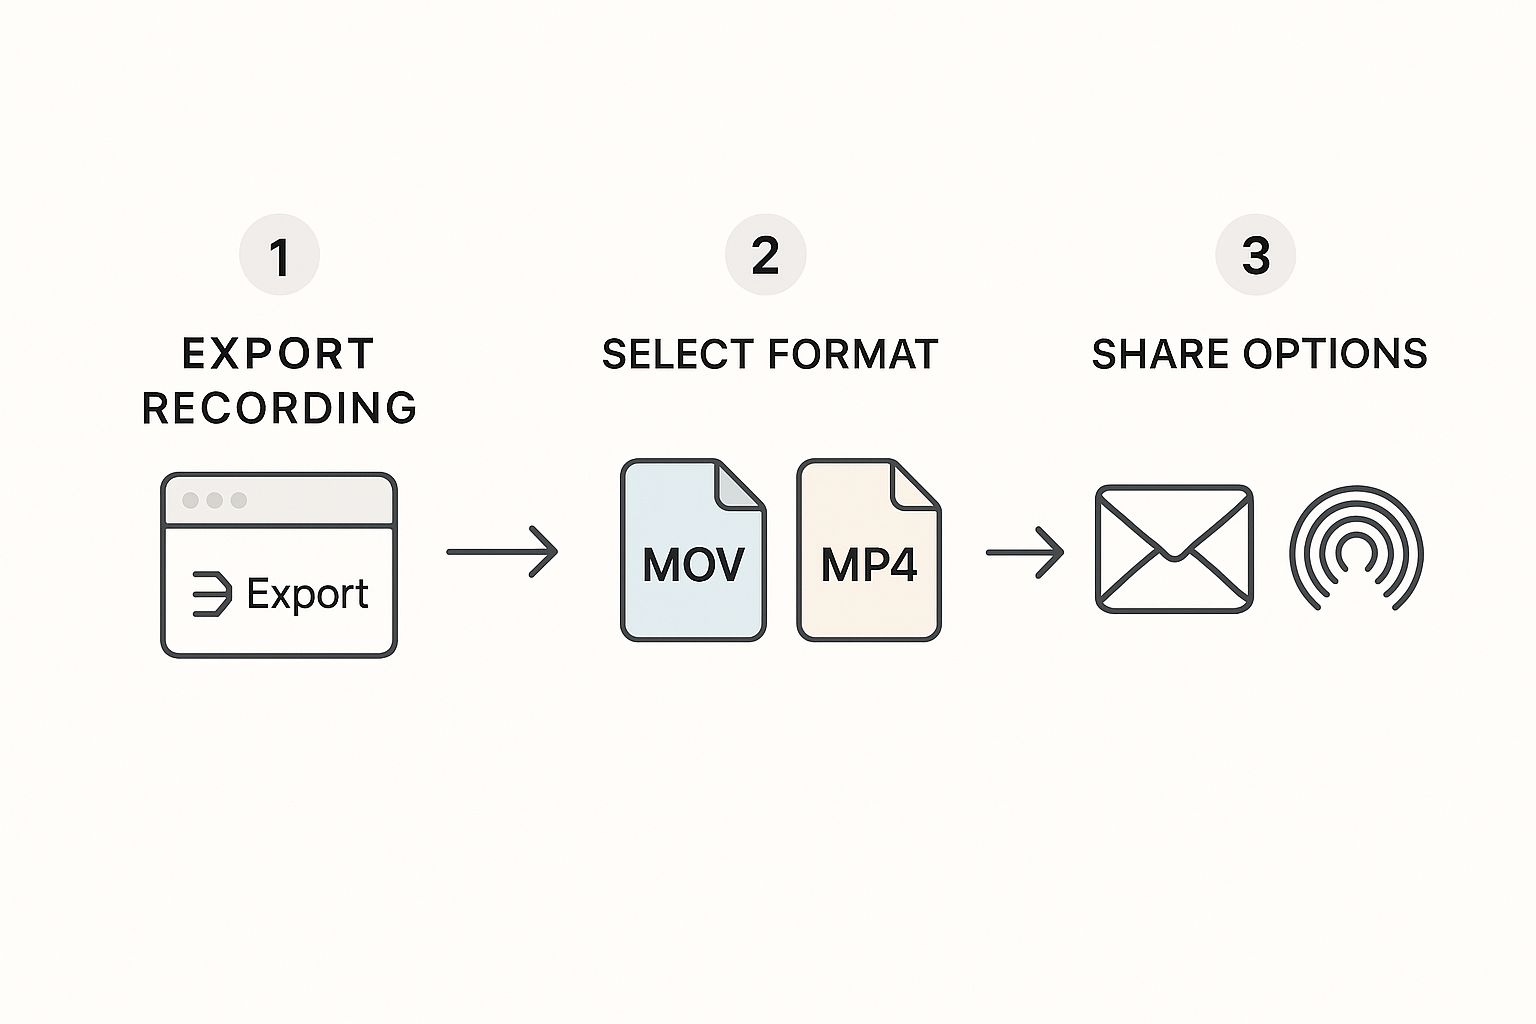
Why is my screen recording file so large?
macOS saves screen recordings in a high-quality format, which results in large file sizes. To reduce the size, you can record a smaller portion of your screen or use a free video compression tool like HandBrake to convert the final .mov file to a more web-friendly .mp4 format.
What is the best format to save my Mac screen recording?
The default .mov format is great for editing. However, for sharing online (e.g., on YouTube or social media), it's best to convert it to .mp4 using the H.264 codec. This format offers a great balance of quality and small file size, ensuring smooth playback on nearly any device.
Conclusion
Learning how to screen record with audio on Mac is a straightforward process once you know which tools to use. The built-in Screenshot Toolbar and QuickTime Player provide powerful and free options for capturing everything from simple voiceovers to complex system sounds. By preparing your workspace, testing your audio, and using the right method for your needs, you can create clear, professional, and effective screen recordings every time.
Call-to-Action
Ready to create your first high-quality screen recording? Try using QuickTime Player for your next project. For more detailed guides, explore our articles on how to record audio on Mac and how to record a screen video on Mac.