How to Screen Record on Mac with Audio

Learn how to screen record on Mac with audio using built-in tools like QuickTime. Our guide covers system sounds and microphone audio for any project.
Need to capture your Mac's screen along with audio from your microphone? You're in the right place. While it might seem like you need expensive third-party software, your Mac comes equipped with powerful, free tools—the Screenshot Toolbar and QuickTime Player—that can create high-quality recordings with perfectly synced sound. This guide will show you exactly how to use them to create professional videos for tutorials, presentations, and more.
Why This Topic Matters
A silent screen recording tells only half the story. The moment you add audio, you transform a simple visual into a powerful tool for teaching, collaborating, and communicating. Knowing how to screen record on Mac with audio isn't just a technical skill; it's about making your message land with clarity and impact, ensuring your audience understands every click and comment.

Imagine a software tutorial that's just a series of unexplained clicks—confusing, right? Adding a voiceover provides context, turning a passive viewing experience into an active learning one. For professionals, this is a game-changer. Educators can deliver clearer instructions, support teams can resolve issues faster with narrated walkthroughs, and marketers can create more immersive product demos. Audio is the secret to taking your content from good to great.
Step-by-Step Guide: How to Screen Record on Mac with Audio
Your Mac offers two excellent built-in methods for screen recording. Here’s a detailed walkthrough of each.
Method 1: Recording Screen and Mic Audio with the Screenshot Toolbar
The Screenshot Toolbar is the quickest way to record your screen with your voice. It's built into macOS (Mojave and newer) and is perfect for creating fast tutorials or narrated feedback.
-
Open the Toolbar: Press Command + Shift + 5 on your keyboard. A control bar will appear at the bottom of your screen.
-
Choose Your Recording Area:
-
Click the icon with a solid outline and a circle to Record Entire Screen.
-
Click the icon with a dotted outline and a circle to Record Selected Portion. You can then drag to create a custom-sized recording frame.
-
-
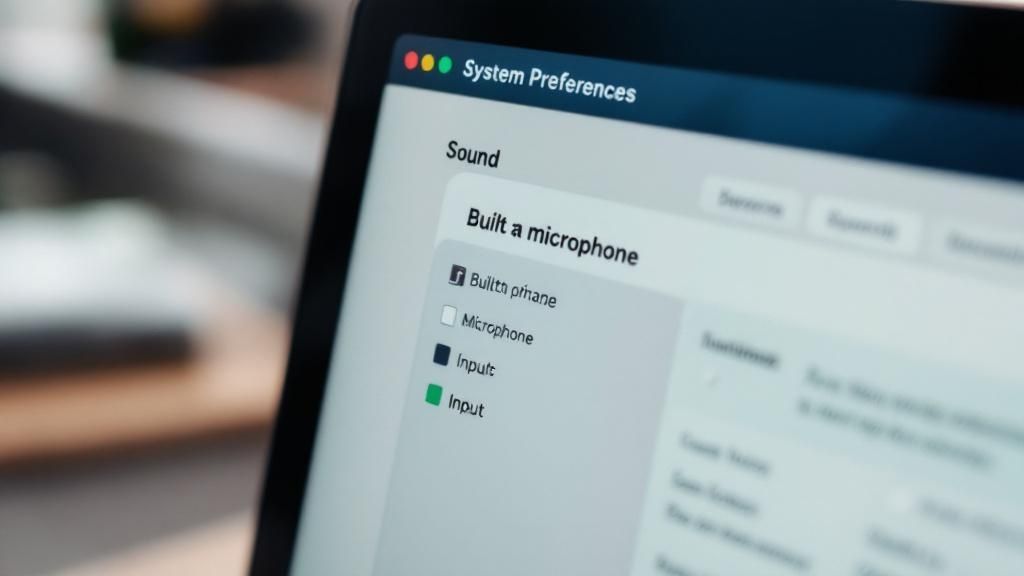
Select Your Microphone: This is the most important step. Click the "Options" menu. Under the "Microphone" section, select your desired mic (e.g., "Built-in Microphone" or an external USB mic). If you don't select a microphone, your recording will be silent.
-
Start Recording: Click the "Record" button. A small stop icon will appear in your Mac's menu bar at the top of the screen.
-
Stop Recording: When you're finished, click the stop icon in the menu bar. Your video will automatically be saved to your Desktop as a .mov file.

Method 2: Using QuickTime Player for Enhanced Recording Control
For more control and simple editing features, QuickTime Player is an excellent choice. It offers the same recording interface as the toolbar but allows you to trim your video immediately after capture.
-
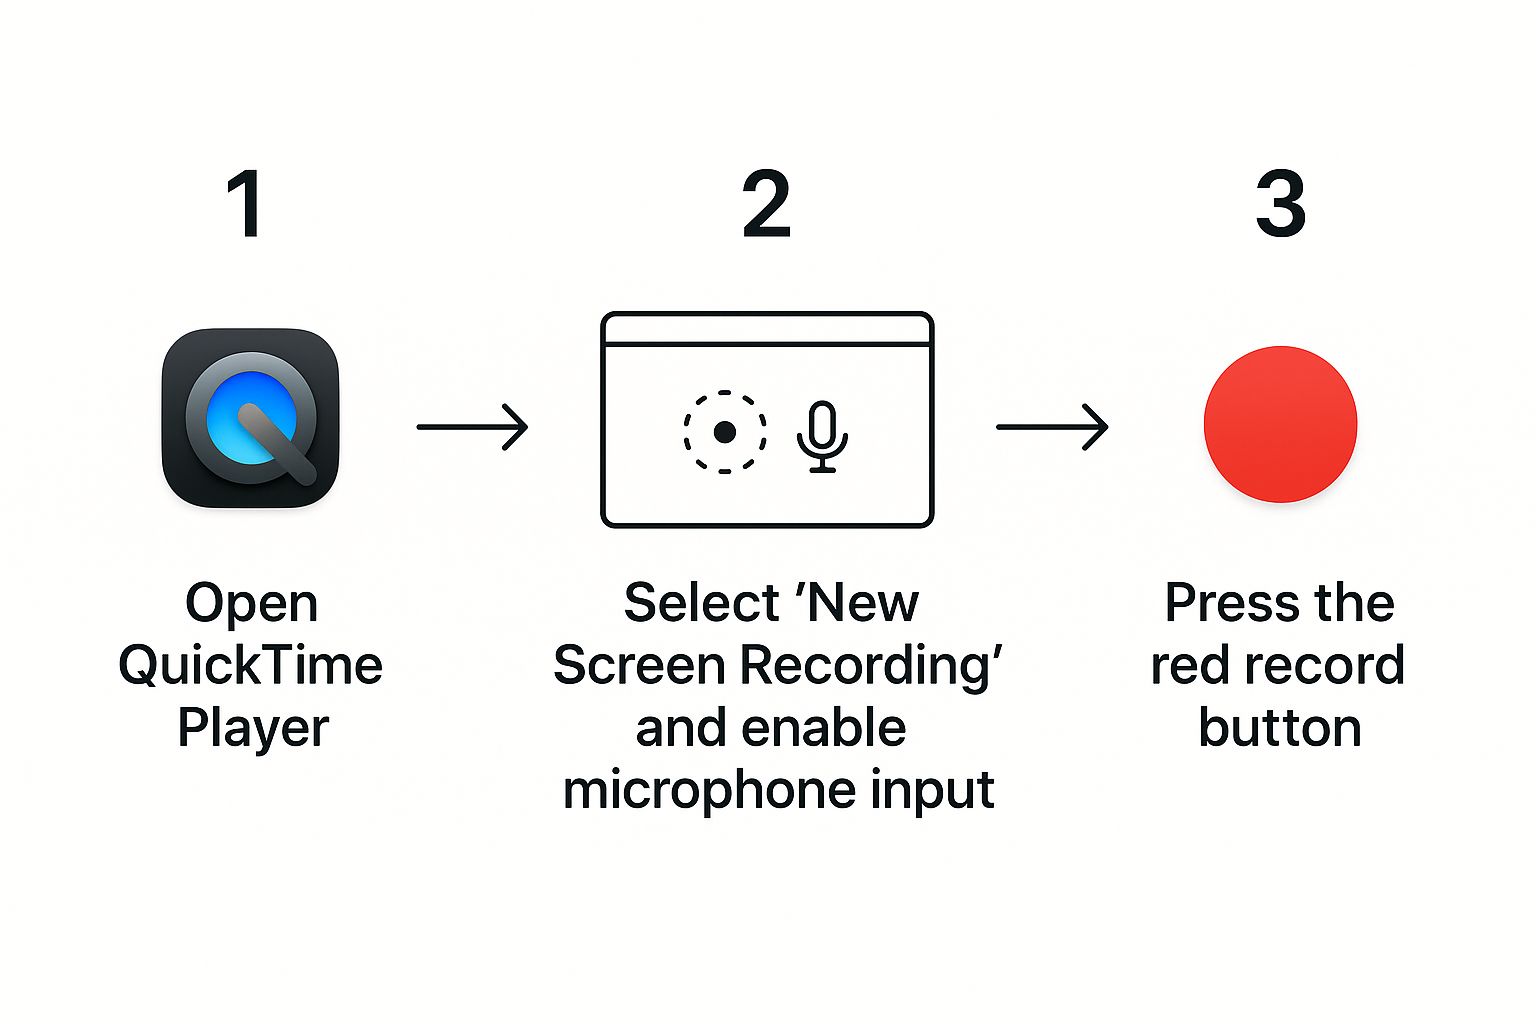
Launch QuickTime Player: Open the app from your "Applications" folder.
-
Start a New Recording: In the top menu bar, go to File > New Screen Recording. The same control bar from the Screenshot Toolbar will appear.
-
Configure Your Settings: Just like with the toolbar, choose to record the full screen or a selected portion.
-
Enable Your Microphone: Click "Options" and select your microphone from the list. Double-check this setting to avoid a silent recording.
-
Record and Stop: Click "Record" to begin. When you're done, click the stop icon in the menu bar.
-
Trim Your Video (Optional): Unlike the toolbar method, your video will open directly in QuickTime Player. To trim it, go to Edit > Trim (or press Command + T). Drag the yellow handles to select the part of the video you want to keep and click the "Trim" button.
-
Save Your File: Go to File > Save to save the edited video to your desired location.

Tips and Best Practices for Professional Recordings
Knowing the steps is one thing; creating a polished video is another. Follow these tips to elevate the quality of your screen recordings.
-
Prepare Your Workspace: Before you hit record, clean up your digital and physical environment. Close unnecessary apps and browser tabs, and turn on "Do Not Disturb" mode to prevent notifications. Record in a quiet room to minimize background noise like fans or traffic.
-
Prioritize Clear Audio: Bad audio is more distracting than bad video. An external USB microphone is the single best investment for clear, professional-sounding narration. If you use the built-in mic, speak clearly and at a steady pace.
-
Do a Test Recording: Always record a 10-15 second test clip. Listen back with headphones to check for audio issues like humming, distortion, or low volume. This simple check can save you from re-recording a long session.
-
Mind Your Mouse Clicks: Unless essential for the tutorial, excessive mouse clicking can be annoying. Use your cursor as a smooth pointer to guide the viewer’s eye instead of clicking frantically. For more details, see our complete guide on how to record a screen video on Mac.
Examples and Use Cases
Knowing how to screen record on Mac with audio unlocks countless possibilities. Here are a few real-world examples:
-
Creating a Software Tutorial: An IT specialist records their screen while walking a colleague through a new project management tool. Their clear voiceover explains each step, highlighting key features and potential pitfalls, which is far more effective than a written guide.
-
Recording an Academic Presentation: A student records their presentation slides along with their narration. This allows them to submit a polished, pre-recorded presentation for a virtual class, ensuring their timing and delivery are perfect.
-
Providing Technical Support: A support agent records a quick video showing a customer exactly how to fix a common software bug. The visual guide, complete with spoken instructions, resolves the issue faster and reduces customer frustration.
FAQ: Common Questions About Mac Screen Recording
Why can’t I record my Mac's internal system audio?
By default, macOS prevents its native tools (Screenshot Toolbar and QuickTime) from recording internal system audio for privacy and copyright reasons. They are designed to capture external audio from a microphone, not the sounds coming from your apps. If you're still having issues, explore why your Mac screen recording is not capturing audio in our detailed post.
Where do Mac screen recordings get saved?
By default, all screen recordings are saved directly to your Desktop. You can easily change this location by opening the Screenshot Toolbar (Command + Shift + 5), clicking "Options," and choosing a new destination folder.
What is the file format for Mac screen recordings?
Mac's built-in tools save recordings as .mov files. This format offers high quality, is fully compatible with the Apple ecosystem (iPhone, iMovie, Final Cut Pro), and is widely supported by platforms like YouTube. For a deeper look, check out our resources on Macbook screen recording with audio.
How do I fix a screen recording with no audio?
This is the most common issue. First, ensure you selected a microphone from the "Options" menu before recording. If you did, check your system permissions by going to System Settings > Privacy & Security > Microphone and making sure the toggle for QuickTime Player is enabled. A simple computer restart can also resolve temporary glitches.
Conclusion
Mastering how to screen record on Mac with audio is a valuable skill that empowers you to create effective tutorials, engaging presentations, and clear instructional videos. Using the built-in Screenshot Toolbar and QuickTime Player, you have everything you need to produce high-quality content without spending a dime. Remember to prepare your workspace, prioritize clear audio, and always do a quick test recording to ensure your final video is polished and professional.
Ready to skip the workarounds and create professional screen recordings in just one click? ShotVu streamlines the entire process, letting you capture your screen, webcam, and audio simultaneously without hassle. Get started today at https://shotvu.com.


