How to Record Screen on Mac with Audio

Learn how to record screen on Mac with audio using built-in tools. Our guide shows you how to capture high-quality screen recordings with sound effortlessly.
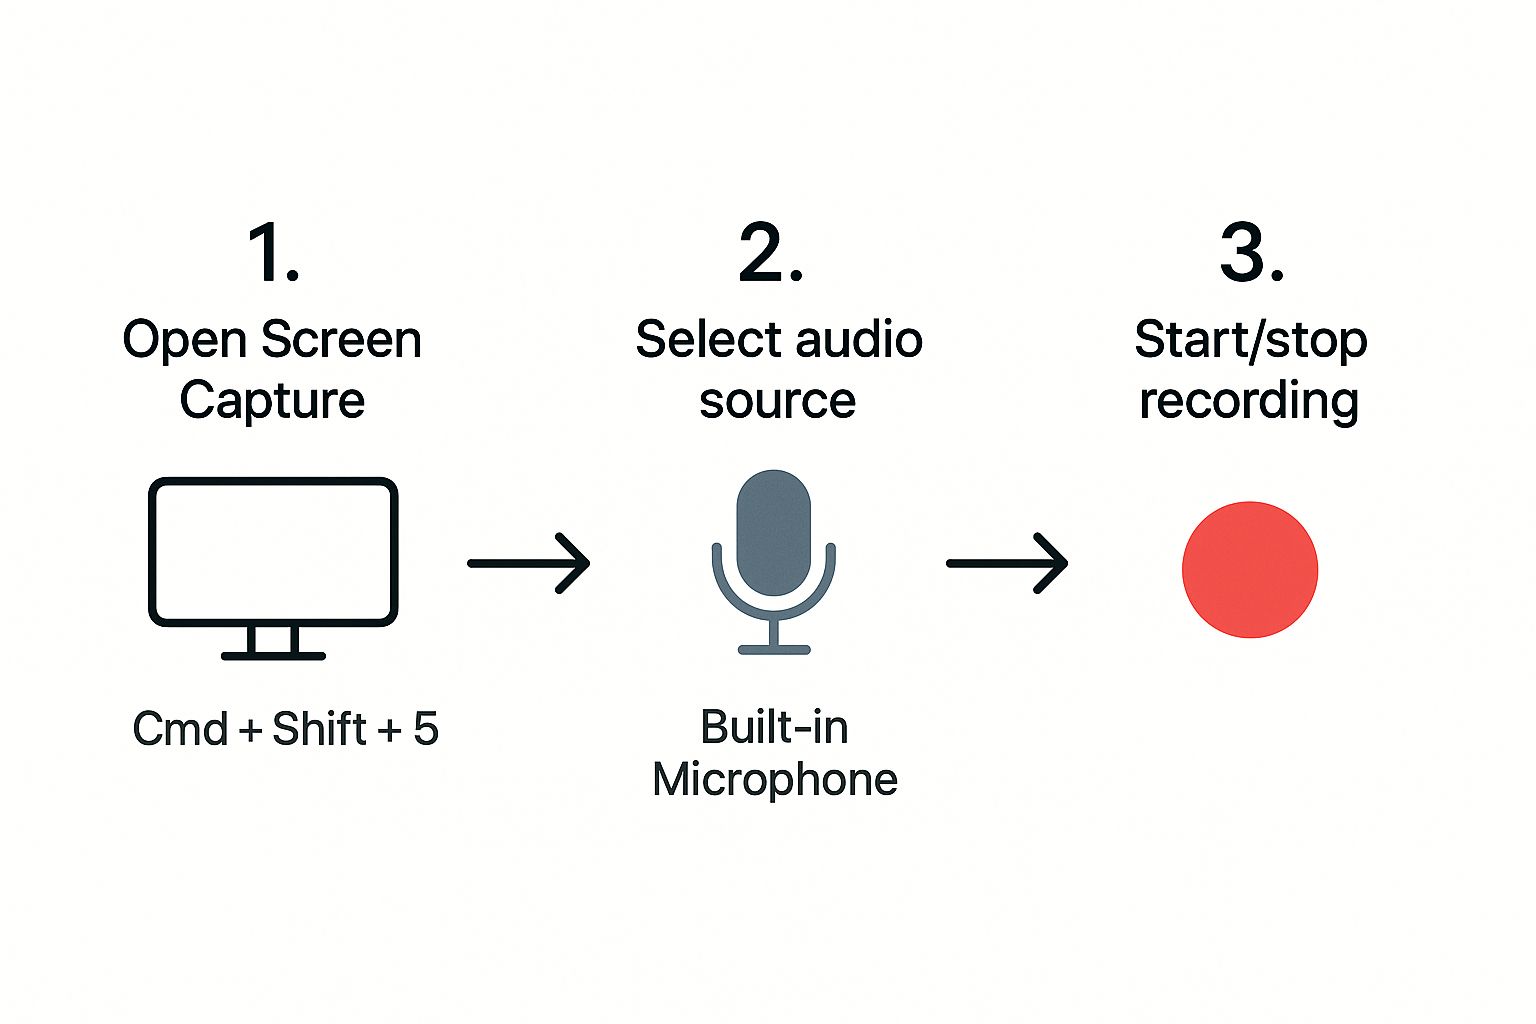
Learning how to record screen on Mac with audio is surprisingly simple, thanks to the tools Apple built right in. The fastest way? Just hit Command + Shift + 5 on your keyboard. This brings up the Screenshot Toolbar, where you can click 'Options', pick your microphone, and hit 'Record' to capture both video and sound without needing to download a single thing.
Why This Topic Matters
Knowing how to record your screen on a Mac with audio is more than just a party trick; it's become a core skill for modern communication. Think about it: instead of typing out a long, confusing email to a support team about a software bug, you could send a quick recording of the issue happening live, with your voice explaining each step. It's clearer, faster, and just plain more effective.

The uses for this are practically endless, especially at work. We see people using screen recordings for all sorts of things:
- Team Training: Get new hires up to speed by creating a library of quick, easy-to-follow tutorials on your company's software.
- Client Communication: Walk a client through a design mockup or a project update visually. It ensures everyone is truly on the same page.
- Asynchronous Meetings: Tired of back-to-back calls? Record a quick presentation to share updates and cut down on meeting fatigue for the whole team.
In a world where remote and hybrid work is the new normal, clear visual communication is king. A simple screen recording can sidestep the misunderstandings that pop up constantly in text-only chats and emails. By showing and telling at the same time, you make your message more personal and much harder to misinterpret.
Step-by-Step Guide: How to Record Screen on Mac with Audio
You've got two main ways to do this natively: the Screenshot Toolbar and QuickTime Player. They both get you to the same great result, but the user experience is a bit different. No matter which you pick, the single most important step is this: select an audio source before you hit record.
Method 1: Using the Screenshot Toolbar (Command + Shift + 5)
For quick, built-in screen recording on a Mac, the Screenshot Toolbar is your best friend. It’s the fastest, most direct way to capture your screen with audio, all without opening a single application.
Step 1: Launch the Recording Interface Ready to start? Just hit Command + Shift + 5. This combo instantly pulls up a control bar at the bottom of your screen. You’ll notice two icons for video recording:
- Record Entire Screen: Captures everything on your display from corner to corner.
- Record Selected Portion: Lets you draw a box around a specific part of your screen, perfect for zeroing in on a single app window.

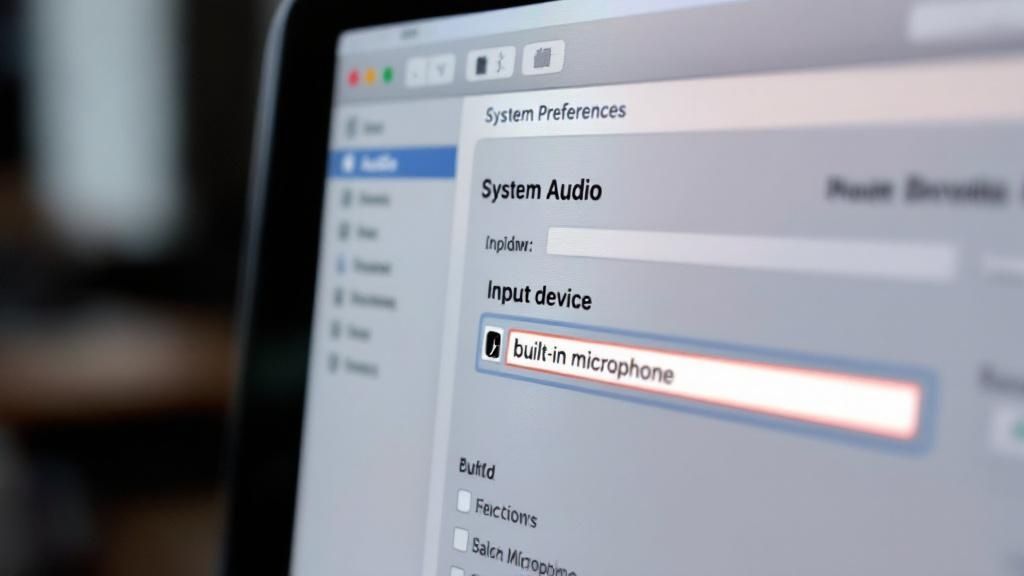
Step 2: Select Your Audio Source This is the part everyone messes up. Before you hit that record button, you absolutely must tell your Mac which microphone to use. Click the 'Options' button on the toolbar. A dropdown menu will appear. Look for the 'Microphone' section and select your desired audio input, such as the "Built-in Microphone" or an external mic.
Step 3: Start and Stop Your Recording Once you've set your recording area and selected your microphone, click the 'Record' button. While you’re recording, a small stop icon—a circle with a square inside it—will appear in the menu bar at the very top of your screen. When you're finished, just click that icon to end the recording. As soon as you stop, a thumbnail of your new video pops up in the bottom-right corner and saves to your desktop.
Method 2: An In-Depth Look at QuickTime Player Recordings
While the Screenshot Toolbar is perfect for speed, sometimes you want the familiar comfort of a dedicated app window. This is where QuickTime Player, a long-standing staple of macOS, really shines.

Step 1: Launch and Set Up Your Recording First, open QuickTime Player from your Applications folder. Once it’s running, head up to the menu bar at the very top of your screen and select 'File' > 'New Screen Recording'. This brings up a small recording control panel that looks nearly identical to the Screenshot Toolbar.
Step 2: Select Your Audio Source The absolute key to successfully recording your screen with audio in QuickTime is a tiny, downward-facing arrow located right next to the red record button. Clicking this arrow is non-negotiable. This is where you select your audio input source. In this menu, you'll see a list of available microphones, just like in the Screenshot Toolbar. You can choose your Mac's built-in mic or any external microphone you have connected.
Step 3: Start and Stop Recording Once your options are set, you can hit the record button. Just like with the other method, a stop icon will appear in your menu bar, which you click to end the recording. Instead of just saving to the desktop, your video immediately opens in a new QuickTime Player window, allowing for immediate playback and basic trimming. For a more detailed walkthrough, our article on how to record your screen with audio in QuickTime Player breaks down every feature.
Tips, Best Practices, & Common Mistakes
The difference between a basic screen capture and a polished, professional recording often comes down to a few simple pre-flight checks. Taking a moment to prep your setup before you hit record can make a world of difference.
- Clean Up Your Workspace: Close every unnecessary app and browser tab, hide your desktop icons, and turn off all notifications. Nothing ruins a great take faster than an unexpected pop-up.
- Always Do a Test Recording: A simple 10-second test has saved me from re-recording hours of footage after realizing my audio was too quiet, distorted, or completely missing.
- Enhance Your Audio Quality: Your audio quality is often more important than your video. Even an inexpensive external USB microphone is a massive upgrade over your Mac's built-in mic. For more tips, check our guide on how to record audio on a MacBook.
- Avoid the #1 Mistake: The most common mistake is forgetting to select an audio source from the 'Options' menu before recording. The default is often "None," which guarantees a silent video. Always double-check this setting.
- Move Your Cursor with Intention: Wild, jerky mouse movements are incredibly distracting for the viewer. Instead, move your cursor smoothly to guide the viewer’s eye. QuickTime has a "Show Mouse Clicks" option that adds a helpful visual cue.
Troubleshooting Common Audio Recording Issues
It's one of the most frustrating things that can happen: you finish a recording, play it back, and… silence. If this happens, check these three things:
- System Sound Settings: Go to 'System Settings' > 'Sound' > 'Input'. Ensure your microphone is listed and the input volume meter bounces when you speak.
- App Permissions: Go to 'System Settings' > 'Privacy & Security' > 'Microphone'. Make sure the toggle switch next to QuickTime Player is turned on.
- System Performance: If your audio is choppy or distorted, your Mac might be struggling. Close any unnecessary applications to free up resources for a smoother recording. For a deeper dive, see our guide on why your Mac screen record is not recording audio.
Examples of When to Use Screen Recording
Screen recordings with audio are incredibly versatile. Here are a few real-world scenarios where they excel:
- Creating a Software Tutorial: Imagine you need to teach a new team member how to use a specific project management tool. Instead of a long document, you can record a 5-minute video walking them through the setup process, narrating each step. This is clearer, faster, and they can re-watch it anytime. For more creator-focused tips, see our guide on how to record videos on YouTube.
- Reporting a Technical Bug: You've found a strange glitch on a website. Instead of trying to describe the complex sequence of clicks that causes it, you can record your screen while explaining what's happening. The support team sees the bug in action and hears your explanation, leading to a much quicker fix.
- Providing Design Feedback: As a manager, you need to give feedback on a new website mockup. Rather than sending a list of bullet points, you can record your screen, scroll through the design, and use your cursor to point out specific elements while giving verbal feedback. This preserves tone and context that text often loses.
FAQ: Frequently Asked Questions
Still have questions about how to screen record on Mac with audio? Here are a few things we hear all the time.
How Can I Record My Mac's Internal System Audio?
By design, macOS blocks the built-in tools from capturing your internal system audio—the sounds coming from your applications or speakers. It’s a privacy thing. So, when you use the Screenshot Toolbar or QuickTime Player, you can only record external audio from your microphone.
Where Do Mac Screen Recordings Save by Default?
Right onto your Desktop. It makes them easy to find, but it can get cluttered fast. Your files will show up with a name like "Screen Recording 2024-05-21 at 10.45.15 AM.mov." You can change this by hitting Command + Shift + 5, clicking 'Options,' and picking a different folder under the 'Save to' menu.
Can I Edit My Screen Recording After I Finish?
Yep, you get some basic editing tools right out of the box. Once you stop a recording, a little thumbnail pops up in the corner. If you click it, you can quickly trim the beginning and end of the video. For anything more complex, like cutting a section from the middle or adding text, you can open the file in iMovie, which comes free with every Mac.
Conclusion
Mastering the art of screen recording on your Mac with audio is an invaluable skill for clear and efficient communication. Using the built-in Screenshot Toolbar (Command + Shift + 5) is perfect for quick, on-the-fly captures, while QuickTime Player offers a more traditional application experience. The critical takeaway for both methods is to always select your microphone from the options menu before you hit record to avoid silent videos. By following these steps and best practices, you can create polished, effective recordings for everything from team training to technical support.
Call to Action
Ready for a recorder that does it all without the workarounds? ShotVu lets you capture your screen, webcam, and both internal and external audio in one click. Then you can share it instantly with a simple link. Give it a try and see how much faster you can create and share your next tutorial or presentation. Find out more at https://shotvu.com.


