


A Creator's Guide on How to Record Videos on YouTube

Learn how to record videos on YouTube with our complete guide. Discover practical steps for setup, recording, editing, and publishing content that stands out.
Ready to learn how to record videos on YouTube? This guide breaks down the entire process into manageable steps. We'll cover everything from selecting your gear and setting up your software to recording, editing, and optimizing your video for maximum reach.
Why This Topic Matters
With over 2.7 billion projected global users by 2025, YouTube is an essential platform for anyone with a message to share. Knowing how to create high-quality content consistently is the key to standing out and building a real audience. This guide provides a smart, repeatable workflow to help you produce professional videos without burnout.
Step-by-Step Guide: How to Record Videos on YouTube
Learning how to record videos on YouTube is a process that can be broken down into four key stages. Follow these steps to go from idea to published video efficiently.
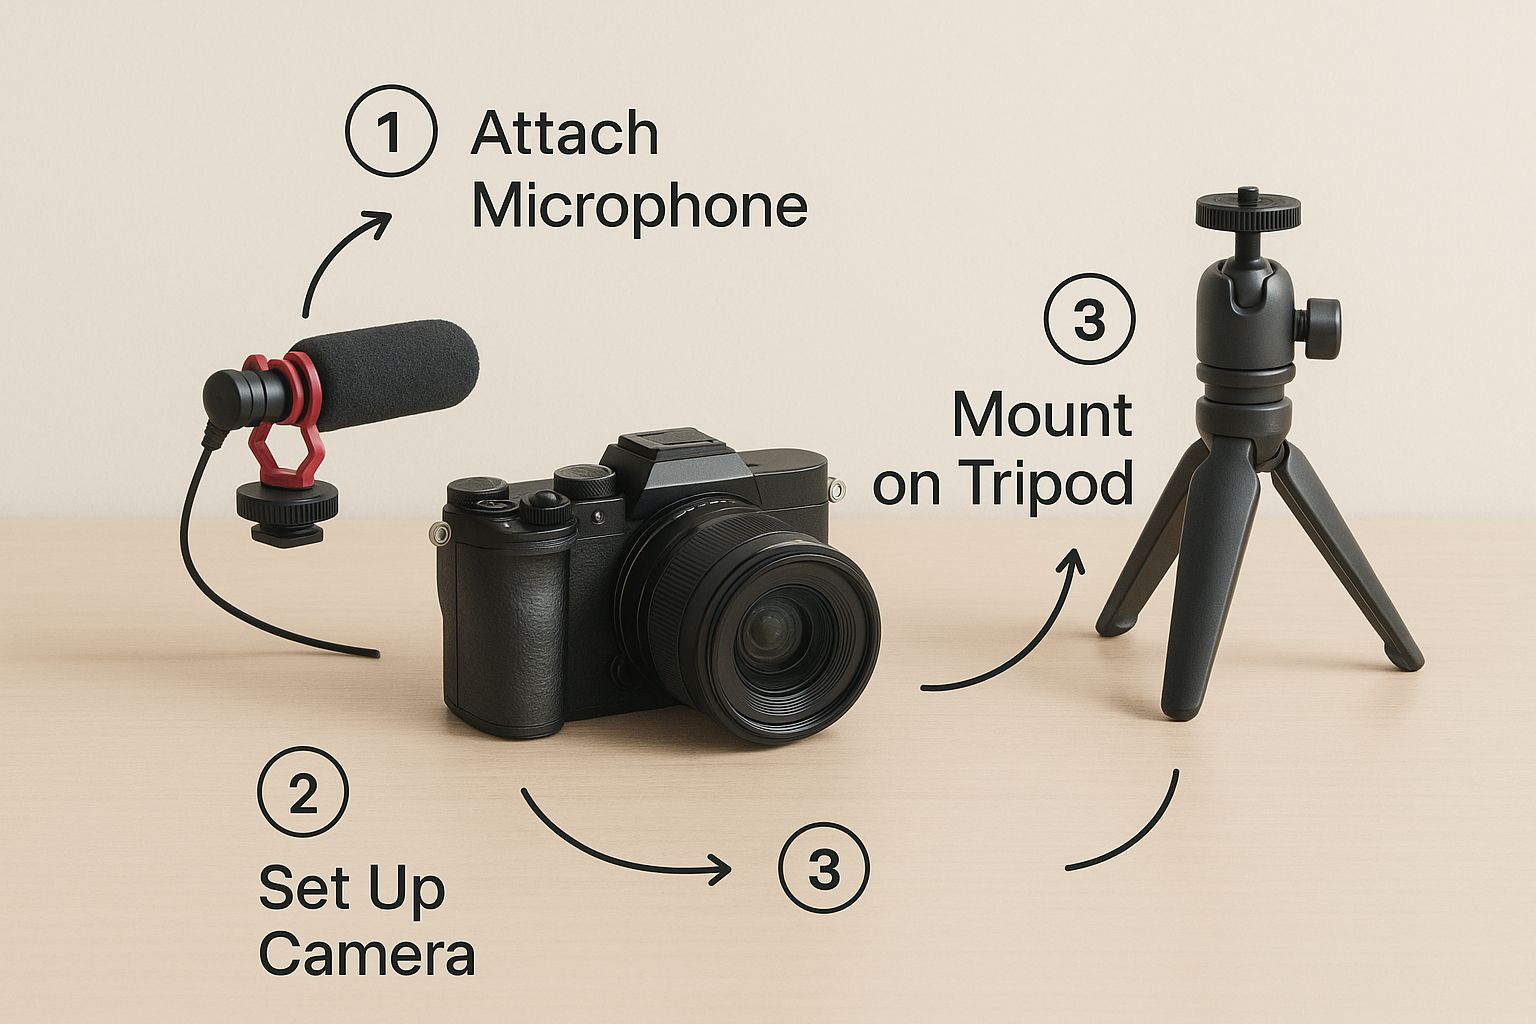
Step 1: Prepare Your Gear and Workspace
Before you hit record, a little preparation goes a long way. You don't need a Hollywood budget, but a few key items will dramatically improve your production value.
- Tidy Your Physical Space: A clean, simple background is best. A single-color wall is ideal, but at a minimum, ensure your background is tidy and free from distractions.
- Declutter Your Digital Space: Close all unnecessary browser tabs and applications. Turn off all notifications—email, Slack, and system alerts—to avoid unprofessional pop-ups in your final video.
- Set Up Your Equipment: Ensure your camera is stable, your microphone is positioned correctly, and your lighting eliminates harsh shadows. A well-lit, steady shot instantly looks more professional.
Step 2: Configure Your Recording Software
Once your space is ready, it's time to configure your recording software. We’ll be using ShotVu for this, focusing on the settings that make the biggest impact on quality.
- Resolution: Select 1080p (1920x1080). This is the sweet spot for high-definition video that looks great on any screen without creating massive files. For advanced users with powerful computers, 4K offers more editing flexibility.
- Frame Rate (FPS): Use 30 FPS for standard videos like tutorials or presentations. This creates a smooth, natural look. For high-action content or slow-motion effects, choose 60 FPS.
- Audio Input: In your software settings, make sure you’ve selected your external USB microphone, not the computer's built-in one. Perform a quick test recording to ensure your audio levels peak around -6dB to avoid distortion.
Taking a minute to configure these options before you record video is one of the most impactful things you can do.
Step 3: Record Your Content
With your setup complete, it's time to record. The goal here is to capture clean, compelling footage that makes the editing process easier.
- Speak with Confidence: Take a deep breath and speak clearly. Vary your vocal tone and let your personality show. A simple bullet-point script can help you stay on track and avoid awkward pauses.
- Use Real-Time Tools: Take advantage of features like ShotVu's real-time annotation to highlight key areas on your screen as you record. This saves significant time in post-production.
- Leverage Hotkeys: Set up custom hotkeys to start and stop your recording seamlessly. This avoids awkward mouse movements and keeps you in the flow.
Step 4: Edit and Polish Your Video
Raw footage is just the beginning. The editing process is where you transform your clips into a polished, professional video.
- Trim and Pace: Cut out mistakes, long pauses, and any "ums" or "ahs." The goal is to create a tight, seamless video that keeps the viewer engaged.
- Add Enhancements: Use text overlays or callouts to emphasize key points. Add simple transitions, like a cross-dissolve, to move smoothly between topics.
- Polish Audio and Visuals: Adjust brightness and contrast for a better look. If using background music, ensure it's quiet enough that it doesn't overpower your voice.
Step 5: Optimize and Upload to YouTube
A great video needs to be discoverable. Optimizing your video for YouTube’s algorithm is a critical final step.
- Title: Write a compelling title that includes your main keyword (e.g., "How to Record YouTube Videos with Crystal-Clear Audio").
- Description: Write a few detailed paragraphs summarizing the video and including relevant keywords and links.
- Tags: Use a mix of 5-10 broad and specific tags to help YouTube categorize your content.
- Thumbnail: Create a bright, high-contrast custom thumbnail with bold, easy-to-read text.
- Cards & End Screens: Add links to related videos or your channel to keep viewers watching your content.
Following this structured process for how to record a YouTube video will help you create high-quality content consistently.
Tips and Best Practices
- Invest in Audio First: Bad audio is the #1 reason viewers click away. An external USB microphone is one of the best investments you can make.
- Script Your Talking Points: You don't need a word-for-word script, but a bulleted list of your main points will help you stay on track, maintain good pacing, and sound more confident.
- Prioritize Good Lighting: A simple ring light or key light can dramatically improve your video quality by separating you from the background and eliminating distracting shadows.
- Focus on Value: Your video should be as long as it needs to be to deliver its message effectively, and no longer. Check your YouTube Analytics to see where viewers drop off and use that data to improve future videos.
Example: Recording a Software Tutorial
Let's apply these steps to a common use case: recording a software tutorial.
- Preparation: The creator cleans their desktop, closes all non-essential apps, and sets up their Blue Yeti microphone and Logitech C920 webcam.
- Configuration: Inside ShotVu, they set the recording resolution to 1080p and the frame rate to 30 FPS. They select the Blue Yeti as the audio input and do a quick soundcheck.
- Recording: They follow a bullet-point script to guide users through the software. They use ShotVu's real-time annotation tools to draw circles around important buttons as they explain them.
- Editing: In the ShotVu editor, they trim out a moment where they sneezed and cut a long pause where they were gathering their thoughts. They add a text overlay showing a helpful keyboard shortcut.
- Optimization: They upload the video to YouTube with the title "Beginner's Guide: How to Use [Software Name] for Project Management," a detailed description, relevant tags, and a custom thumbnail.
This structured workflow ensures a high-quality, professional result.
FAQ: How to Record Videos on YouTube
Here are some frequently asked questions about recording videos for YouTube.
What is the best resolution to record YouTube videos in?
For most creators, 1080p (1920x1080) is the perfect balance. It delivers a sharp, high-definition image that looks professional without creating excessively large file sizes that are difficult to edit and upload. While 4K offers more flexibility for cropping and zooming in post-production, 1080p is the practical and efficient choice for producing great-looking content.
How can I get better audio without an expensive microphone?
Great audio is more about technique and environment than expensive gear. First, record in a quiet room with soft surfaces (like carpets or curtains) to reduce echo. Second, get closer to your microphone (about 6-12 inches away) to capture a richer vocal sound and minimize background noise. Finally, always do a soundcheck in your recording software to ensure your audio levels are not too loud (clipping) or too quiet.
What are the most common mistakes to avoid when recording?
The three most common mistakes are inconsistent audio, poor pacing, and a distracting background. Always set your audio levels with a soundcheck. Use a bullet-point script to maintain a steady, engaging pace. And take two minutes to clean your physical and digital workspace to ensure your viewers are focused on you and your message.
How long should my YouTube videos be?
There is no single "best" length. Your video should be exactly as long as it needs to be to cover the topic thoroughly and provide value to the viewer—and not a second longer. A quick tip might be a 3-minute video, while a detailed tutorial could be 15 minutes. Focus on holding audience attention rather than hitting a specific time mark.
Do I need a camera to make YouTube videos?
No, you don't always need a camera. Many successful YouTube channels focus entirely on screen recordings for tutorials, presentations, or gameplay. Using a high-quality screen recorder like ShotVu allows you to create training videos or other content without ever appearing on camera. The key is clear audio and valuable on-screen content.
Conclusion
You now have a complete roadmap for how to record videos on YouTube, from initial setup to final upload. The key to success is building a consistent workflow that prioritizes clear audio, good lighting, and valuable content. By focusing on these fundamentals and using the right tools, you can create professional videos that attract and engage an audience.
Ready to put these tips into action? ShotVu gives you all the tools you need to record, edit, and share professional-quality videos with ease.