


Need to create a tutorial, capture a webinar, or save a presentation on your Mac? You're in luck—the essential tools you need are already built right into macOS. This guide will walk you through how to use the Screenshot Toolbar and QuickTime Player to easily record your screen with audio.
Why This Matters
In today's remote-first world, knowing how to record your screen is a vital skill. From creating training materials for colleagues to submitting a school project or sharing a software bug with a support team, clear visual communication is essential. In fact, over 40% of Mac users rely on screen recording for work and education, and 72% of remote workers use it to share presentations and tutorials. Mastering this simple task can significantly boost your productivity and communication clarity.
Step-by-Step Guide to Recording Your Screen with Audio on Mac
Your Mac provides two powerful, free tools for screen recording: the Screenshot Toolbar for quick captures and QuickTime Player for more deliberate recordings. Both are excellent for capturing your screen and your voice from a microphone.
One crucial thing to remember: both of these built-in tools are designed to capture your screen and your voice from an external or built-in microphone. Recording your Mac's internal system audio (like the sound from a YouTube video) is a different challenge. For a detailed walkthrough on all audio types, see our guide to record audio on Mac.
Method 1: Use the Screenshot Toolbar (Shift + Command + 5)
This is the fastest method for on-the-fly recordings on modern macOS versions.
- Launch the Toolbar: Press Shift + Command + 5 on your keyboard. A control panel will appear at the bottom of your screen.
- Select Your Recording Area:
- Record Entire Screen: Click the icon showing a screen with a solid outline.
- Record Selected Portion: Click the icon showing a screen with a dotted outline. Then, drag the corners to select the specific area you want to capture.
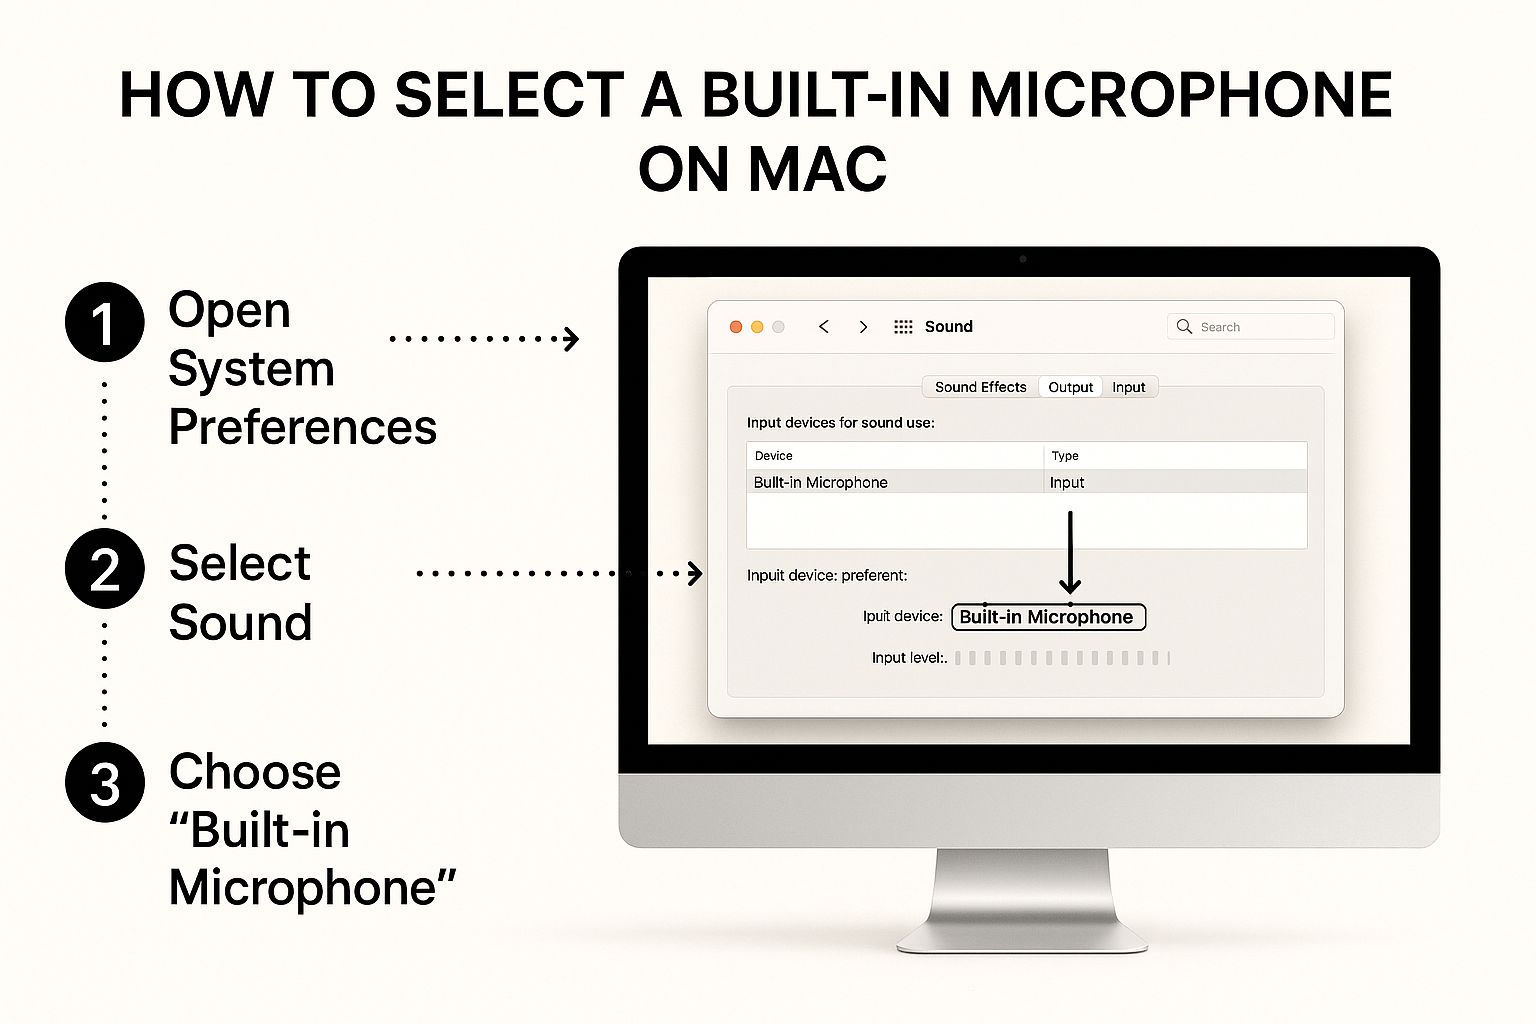
- Enable Audio: This is the most important step! Click the "Options" menu in the control bar. Under the "Microphone" section, select "Built-in Microphone" or any external mic you have connected. If you skip this, your recording will be silent.
- Start and Stop Recording: Click the "Record" button. To stop, click the stop icon (a circle with a square inside it) that appears in your Mac's menu bar at the top of the screen. Your video will be saved to your Desktop by default.
Method 2: Use QuickTime Player
For longer recordings that might need simple trimming, QuickTime Player is a reliable choice.
- Open QuickTime Player: Find it in your Applications folder.
- Start a New Recording: From the top menu bar, go to File > New Screen Recording. A control panel, nearly identical to the Screenshot Toolbar, will appear.
- Choose Your Area and Audio: Just like with the toolbar, you can choose to record the full screen or a selected portion. Crucially, click "Options" to select your microphone.
- Record and Save: Click "Record" to begin. When finished, click the stop icon in the menu bar. QuickTime will automatically open the video, allowing you to preview it.
- Trim Your Video (Optional): If you need to cut out the beginning or end, go to Edit > Trim (or press Command + T). Drag the yellow handles to select the portion you want to keep, then click "Trim."
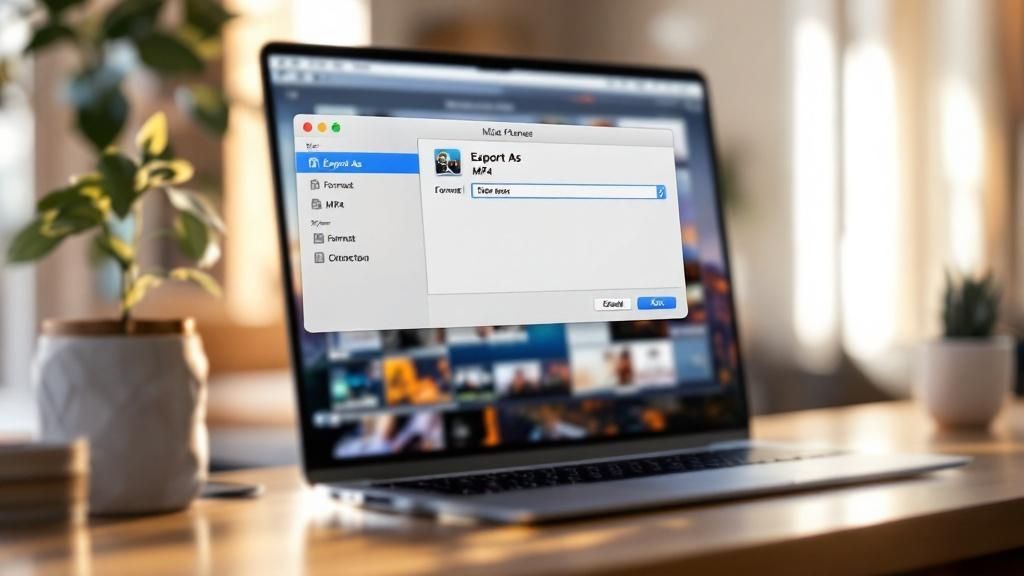
- Save Your File: Go to File > Save, give your recording a name, and choose where to save it. For more details, see our full guide on how to record your screen with audio in QuickTime Player.
Method 3: Granting Security Permissions
If your recording fails, it's likely a security setting. macOS requires you to grant permission for apps to record your screen and use your microphone.
- Open System Settings.
- Navigate to Privacy & Security.
- Click on Screen & System Audio Recording.
- Find your app (e.g., QuickTime Player) and toggle the switch to the "on" position. You may need to enter your password.
- Do the same under the Microphone section to ensure audio is enabled.
This is a critical step for a successful MacBook screen recording with audio. You can learn more about Apple's access policies to understand why these safeguards exist.
Tips and Best Practices for High-Quality Recordings
Knowing which buttons to press is just the start. To create a professional video, follow these expert tips.
- Prepare Your Digital Workspace: Before you hit record, clean up your screen. Close unnecessary applications to prevent lag, hide desktop clutter in a folder, and turn on a Focus mode like "Do Not Disturb" to block all notifications.
- Prioritize Audio Quality: Viewers will forgive imperfect video but not bad audio. Use an external microphone if possible, record in a quiet room to avoid echo and background noise, and always do a quick sound check to test your levels. For more tips on audio for presentations, see our guide on how to record slides with audio.
- Choose the Right Resolution: Recording your entire 4K or 5K display creates massive files. For most online content, recording at 1080p (1920x1080) offers the perfect balance of crisp quality and manageable file size.
Examples and Use Cases
Screen recording is incredibly versatile. Here are a few real-world scenarios where this skill is invaluable:
- Creating Software Tutorials: A developer can record their screen to demonstrate how to use a new feature, providing clear, visual steps for users to follow.
- Reporting a Technical Bug: Instead of trying to describe a complex issue in an email, you can record the bug as it happens. This gives the support team the exact context they need to solve the problem quickly.
- Recording Academic Presentations: A student can record their slideshow presentation with a voiceover, making it easy to submit for a grade or share with classmates who missed the lecture.
- Archiving Live Webinars: Capture an important webinar or online meeting to review later or share with team members who couldn't attend live.
Common Mistakes to Avoid
- Forgetting to Select the Microphone: This is the #1 mistake. Always click "Options" in the control bar and select your audio source before you hit record.
- Ignoring Security Permissions: If your screen or audio isn't being captured, the first place to check is System Settings > Privacy & Security. Make sure your app has permission.
- Not Having Enough Disk Space: High-quality video files are large. A long recording can fail to save if your hard drive is full. Always check your available space first.
- Recording a Cluttered Screen: A messy desktop and constant pop-up notifications look unprofessional. Always clean your workspace and enable "Do Not Disturb" mode. If you still have issues, explore our detailed guide on why your Mac screen record is not recording audio.
FAQ: Frequently Asked Questions
How do I record my Mac screen with system sound?
By default, Apple's built-in tools like QuickTime and the Screenshot Toolbar do not capture internal system audio (e.g., sound from a YouTube video) for security and copyright reasons. To do this, you need a third-party application or a virtual audio driver that can route your Mac's system audio as an input source for the screen recorder.
Where are my screen recordings saved on a Mac?
By default, all screen recordings made with the Screenshot Toolbar or QuickTime Player are saved directly to your Desktop. You can change this location by clicking the "Options" menu in the Screenshot Toolbar and choosing a different folder before you start recording.
Why is there no sound in my Mac screen recording?
There are two common reasons. First, you may have forgotten to select an audio source. You must click the "Options" menu and choose "Built-in Microphone" or another connected mic. Second, the app may not have permission to access your microphone. Check this in System Settings > Privacy & Security > Microphone and ensure the toggle is on for your recording app.
How do I stop a screen recording on a Mac?
To stop a recording, click the small stop icon (a circle with a square inside it) that appears in the menu bar at the very top of your screen. If you're using the Touch Bar, the stop button will also appear there.
Can I edit my screen recording on a Mac?
Yes. If you record with QuickTime Player, the video opens automatically after you stop. You can use the built-in Trim feature (Edit > Trim or Command + T) to cut out unwanted parts from the beginning or end of your clip before saving.
Conclusion
Recording your screen and audio on a Mac is a straightforward process once you know the right steps. By using the built-in Screenshot Toolbar (Shift + Command + 5) for quick captures or QuickTime Player for recordings that need a quick trim, you have everything you need to create effective tutorials, presentations, and demos. Remember to always select your microphone, check your security permissions, and prepare your digital workspace for the best results.
Call to Action
Ready to bypass the workarounds and create professional screen recordings with crystal-clear system audio and voiceover in one click? ShotVu offers an all-in-one solution with unlimited recording, cloud storage, and instant sharing. Try ShotVu for free today.