


Introduction
Trying to record your screen on a Mac with audio can feel like a classic "so close, yet so far" problem. This guide will walk you through everything you need to know, from simple voice-overs using built-in tools to the more advanced setups required to capture your Mac's internal system audio perfectly. By the end, you'll be able to create high-quality screen recordings for any purpose.
Why This Topic Matters
High-quality screen recordings are no longer a niche tool; they are a core part of modern communication, education, and collaboration. When you record your screen on a Mac with audio, you're building a bridge of understanding between you and your audience. A crisp, clear recording can transform a confusing process into an intuitive one, whether for a product demo, a software tutorial, or a customer support ticket.
The shift to remote work and online learning has created a huge demand for effective visual communication. The global screen recording software market, valued at around USD 1.5 billion in 2023, is projected to hit nearly USD 3.5 billion by 2033, according to datahorizzonresearch.com. This growth is driven by the need for clarity in scenarios like:
- Onboarding New Hires: A clean, narrated walkthrough of company software is infinitely better than a dense PDF.
- Creating Course Content: Educators need to capture both presentation slides and their voiceover to create a real learning experience.
- Documenting Software Bugs: Developers rely on precise recordings showing the exact steps that trigger an error, including system sounds.
A recording with missing or garbled audio, a common issue when your Mac screen recording is not recording audio, causes more confusion than it solves. Quality recordings ensure your message lands exactly as intended.
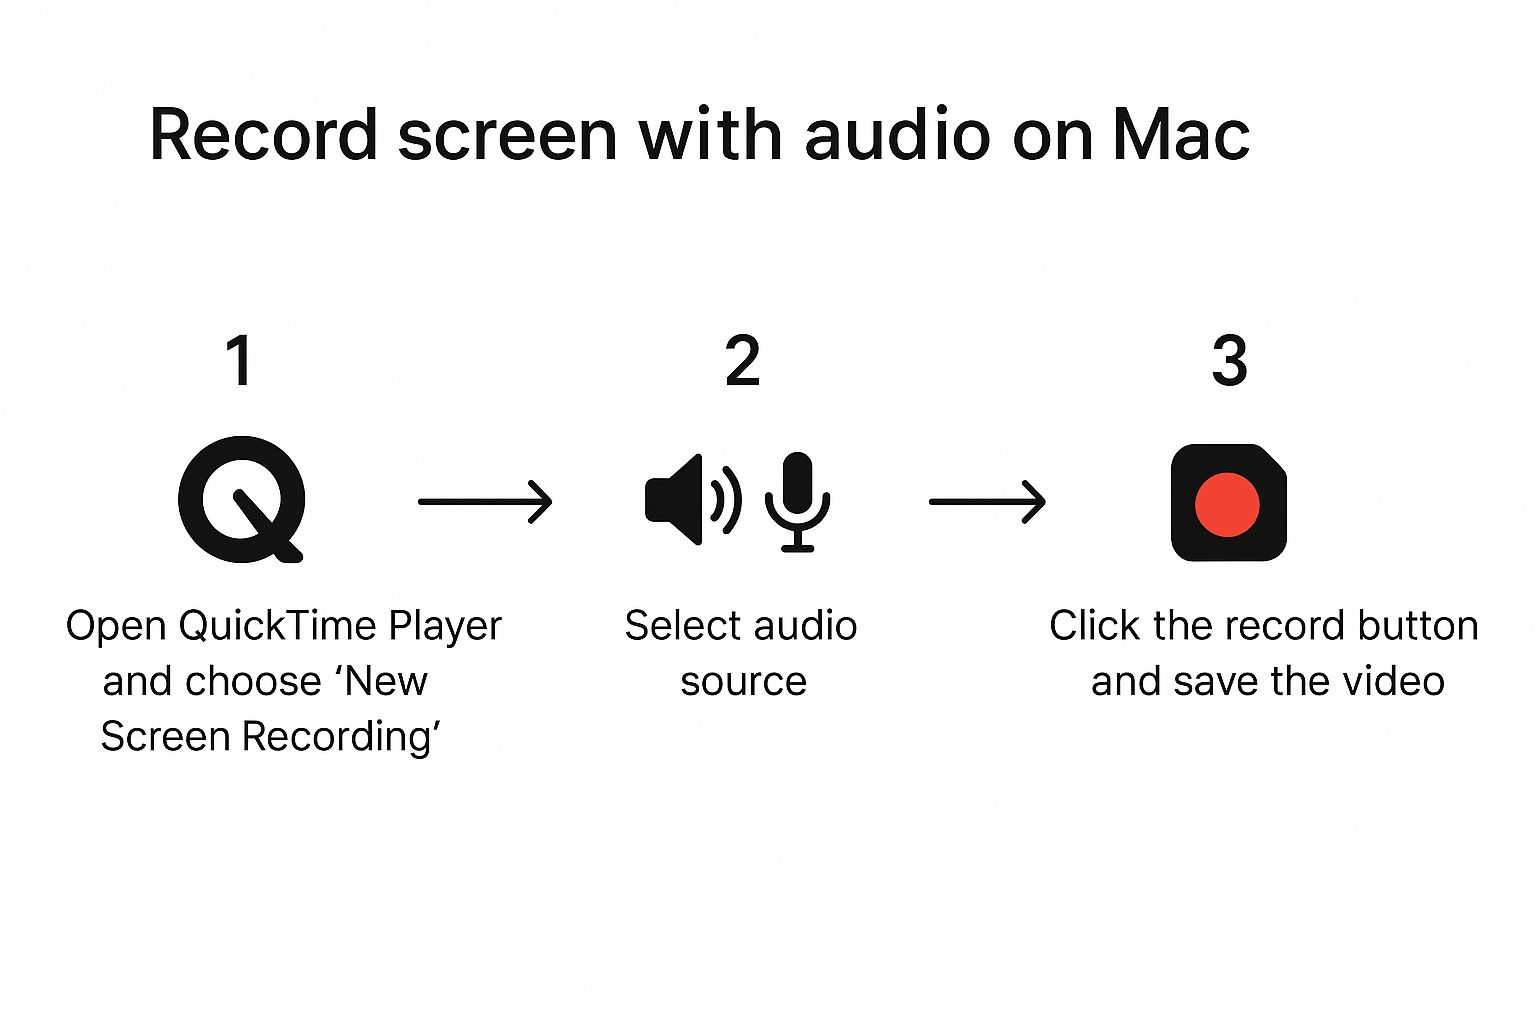
Step-by-Step Guide: How to Record Screen on Mac with Audio
Your Mac comes with two powerful, built-in tools for screen recording: the Screenshot toolbar and QuickTime Player. They are perfect for basic recordings with microphone audio but require a workaround for system sounds.
Method 1: Recording Your Screen with Microphone Narration
This is the simplest way to add your voice to a screen recording for tutorials, feedback, or presentations.
Using the Screenshot Toolbar (The Quickest Method)
- Press Shift + Command + 5 on your keyboard to open the Screenshot toolbar.
- Choose your recording area: "Record Entire Screen" or "Record Selected Portion."
- Click the "Options" button.
- Under the "Microphone" section, select your Mac's built-in microphone or an external one.
- Click the "Record" button to start. A stop icon will appear in your menu bar; click it to finish.
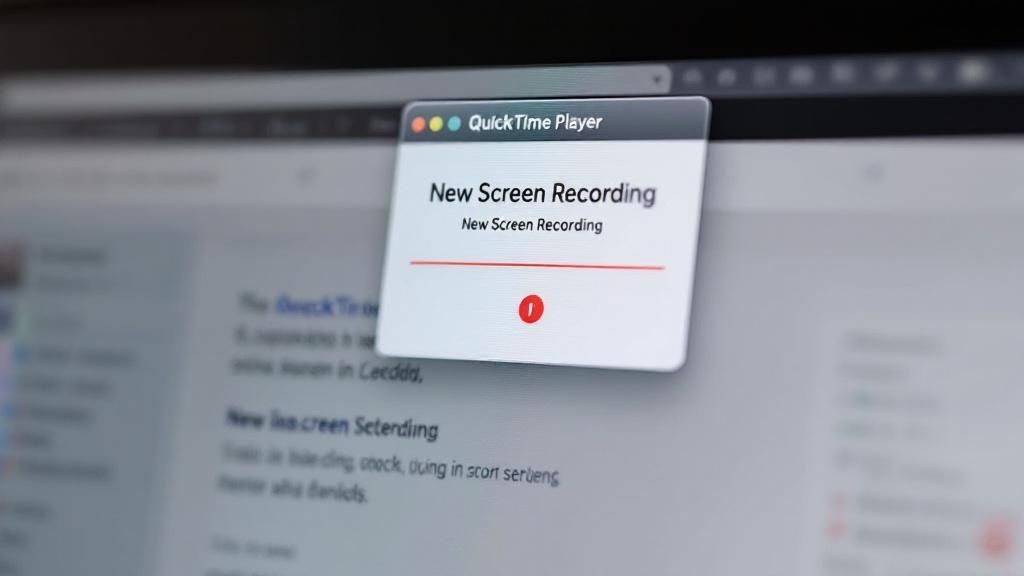
Using QuickTime Player (The Application Method)
- Open QuickTime Player from your Applications folder.
- Go to File > New Screen Recording from the menu bar.
- A control panel will appear. Click the small arrow next to the red record button.
- Select your desired microphone from the dropdown list.
- Click the record button to begin.
Method 2: How to Capture Your Mac's System Audio
By design, macOS blocks apps from recording internal system audio for security reasons. The solution is a clever workaround using a free, third-party audio driver to create a virtual audio device that QuickTime can record.
Step 1: Install a Trusted Audio Driver
First, you need to download and install a trusted audio driver. During installation, macOS will require you to grant it permissions in System Settings > Privacy & Security.
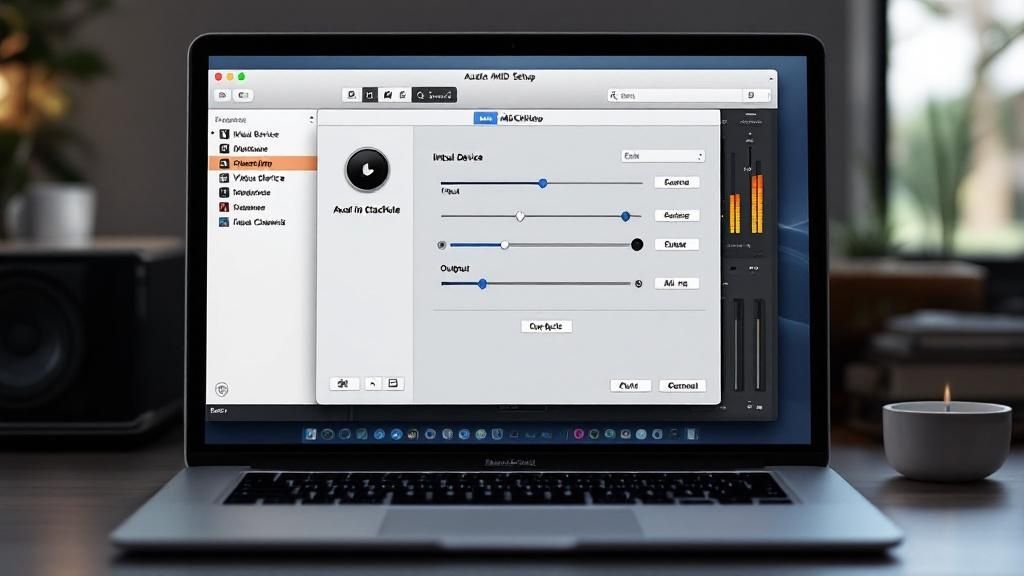
Step 2: Set Up a Multi-Output Device
This setup lets you hear the audio while also sending it to QuickTime for recording.
- Open the Audio MIDI Setup app (use Spotlight search).
- Click the “+” button in the bottom-left corner and choose “Create Multi-Output Device.”
- Check the boxes for both your Mac’s built-in speakers (or headphones) and the virtual audio driver you installed.
- Ensure the virtual driver is the Master Device and check Drift Correction for your speakers/headphones to keep everything in sync.
Step 3: Record with Your New Audio Setup
- Go to System Settings > Sound and select your new Multi-Output Device as the main sound output.
- Open QuickTime Player and start a New Screen Recording.
- In the options menu (the arrow next to the record button), select your virtual audio driver as the microphone input.
- Press record. QuickTime will now capture your screen and all system audio. Our guide on how to screen record with sound offers more detail.
Tips and Best Practices for Professional Recordings
Knowing the technical steps is just the beginning. Follow these tips to ensure your recordings look and sound polished.
- Prepare Your Digital Workspace: Close unnecessary apps to prevent lag and distracting notifications. Turn on "Do Not Disturb" mode and tidy your desktop for a clean, professional look.
- Master Your Audio Quality: Bad audio is more distracting than bad video. Use an external USB microphone for clearer sound. Always do a 10-second test recording to check your volume levels and find a quiet room to minimize background noise.
- Refine Your Recording Workflow: Create a bullet-point outline to stay on track. Organize your files in a dedicated project folder with a clear naming convention. Most importantly, always do a 30-second test run to ensure your screen and all audio sources are being captured correctly. For more in-depth advice, check out these professional presentation recording tips.
Examples and Use Cases
Here’s how these recording methods apply in the real world:
- Creating a Software Tutorial: Use the system audio recording method to capture in-app sounds and effects. To add your voice, create an "Aggregate Device" in Audio MIDI Setup that combines your microphone and the virtual audio driver. This gives your audience the full experience.
- Recording a Presentation: For a simple narrated slideshow, the basic Screenshot toolbar or QuickTime Player method is perfect. Just open your presentation, select your microphone, and start recording your screen. It's a quick and efficient way to create shareable content.
- Providing Design Feedback: Use the Screenshot toolbar's "Record Selected Portion" feature to focus on a specific design mockup. Record your voice with the built-in mic to give clear, contextual feedback while pointing out changes on screen.
For more examples on specific devices, see our guide on MacBook screen recording with audio.
FAQ: Frequently Asked Questions
1. Why can't QuickTime record my Mac's internal audio by default?
This is a built-in privacy and security feature in macOS. Apple prevents applications from easily capturing system audio to protect user privacy. To enable it, you must use a third-party audio driver to create a virtual "loopback" that safely routes system sound into a recordable input.
2. My screen recording has no sound. What went wrong?
First, check if you selected an audio source in the "Options" menu of the recording toolbar; it defaults to "None." Second, go to System Settings > Privacy & Security > Microphone and ensure QuickTime Player has permission. Finally, if capturing system audio, confirm your Multi-Output Device is configured correctly and selected as the input before recording.
3. How do I record my voice and system audio at the same time?
You need to create an "Aggregate Device" in the Audio MIDI Setup app. This virtual device combines multiple audio inputs—your physical microphone and the virtual system audio driver—into a single track. Select this new Aggregate Device as your input in QuickTime to capture both your narration and system sounds simultaneously. Our guide on how to record audio on a Mac covers this in detail.
4. Is it safe to install a third-party audio driver?
Yes, as long as you download it directly from the official developer's website. Reputable audio drivers are widely used and trusted but require system-level access to function. Always stick to well-known sources and keep the driver updated to ensure security and compatibility with new macOS versions.
Conclusion
Mastering how to record your screen on a Mac with audio opens up a world of possibilities for clear communication and content creation. While macOS's built-in tools are great for simple recordings with a microphone, capturing system audio requires a simple but crucial workaround using a virtual audio driver and the Audio MIDI Setup utility. By following the steps and tips in this guide, you can confidently create professional, high-quality screen recordings for any project.
Call-to-Action
Ready to skip the complex setups and start recording with one click? ShotVu offers an all-in-one solution to capture your screen, webcam, and audio flawlessly without any complicated workarounds. Try it today and see how easy professional-quality recording can be. https://shotvu.com