


Introduction
In a world where so much of our work and connection happens online, knowing how to share your screen is a core skill for clear communication. This guide will walk you through everything you need to know, from the basic steps on any device to pro tips that ensure every share is smooth, secure, and professional.
Why This Topic Matters
Great screen sharing is no longer just a neat feature; it's the bedrock of how modern teams collaborate. It bridges the gap for remote and hybrid teams, turning isolated colleagues into a cohesive unit working in real-time. Whether you’re walking a client through a new design, training a new hire, or troubleshooting with a developer, knowing how to share a screen effectively transforms a basic function into a powerful tool for clarity and impact.
The numbers back this up. The peer-to-peer screen sharing market is on track to hit $2.5 billion by 2025 and is projected to keep growing. This isn't just a passing trend; it shows a fundamental shift in how we work together. You can dig into more data about this growing market to see where things are headed. Mastering this skill ensures your ideas aren't just heard—they're seen and understood.
How to Share Your Screen: A Step-by-Step Guide
Alright, let's get into the nitty-gritty of actually sharing your screen. It’s a simple process whether you're on a Windows PC, a Mac, or a Chromebook. Most tools have a big, obvious "Share Screen" button, but the options you see after you click it can vary.
Sharing Your Screen on Windows
Windows has done a great job of baking screen sharing deep into the OS. When you go to share in just about any app, you’ll usually get a few core choices.
- Entire Screen: This is your "show-and-tell" option for everything on your monitor. It's fantastic for demonstrating a workflow that jumps between different apps, but remember—every single notification is on display.
- A Specific Window: This is often the safest and most professional choice. It locks the view to a single application, like your PowerPoint deck or a web browser, hiding all the other clutter on your desktop.
- A Browser Tab: Many tools now offer this, and it’s a brilliant option for privacy and performance when your work is web-based.
Sharing Your Screen on macOS and Chromebook
The process on a Mac feels very similar to Windows, but it comes with one crucial difference: system permissions. The very first time you try to share your screen with a new app (like Zoom or Teams), macOS will stop you. You'll get a pop-up prompting you to grant access in your System Settings under Privacy & Security > Screen Recording. You must approve this before the app can share your screen, but you only have to do it once per application.
Chromebooks, being built around the browser, make this whole process incredibly straightforward. You can share your entire desktop, a specific window, or a single Chrome tab. For anyone who lives and breathes in the cloud, this simplicity is a huge advantage. If you want a more detailed look, you can check out our guide on how to screen record on Chrome, as many of the same principles apply.
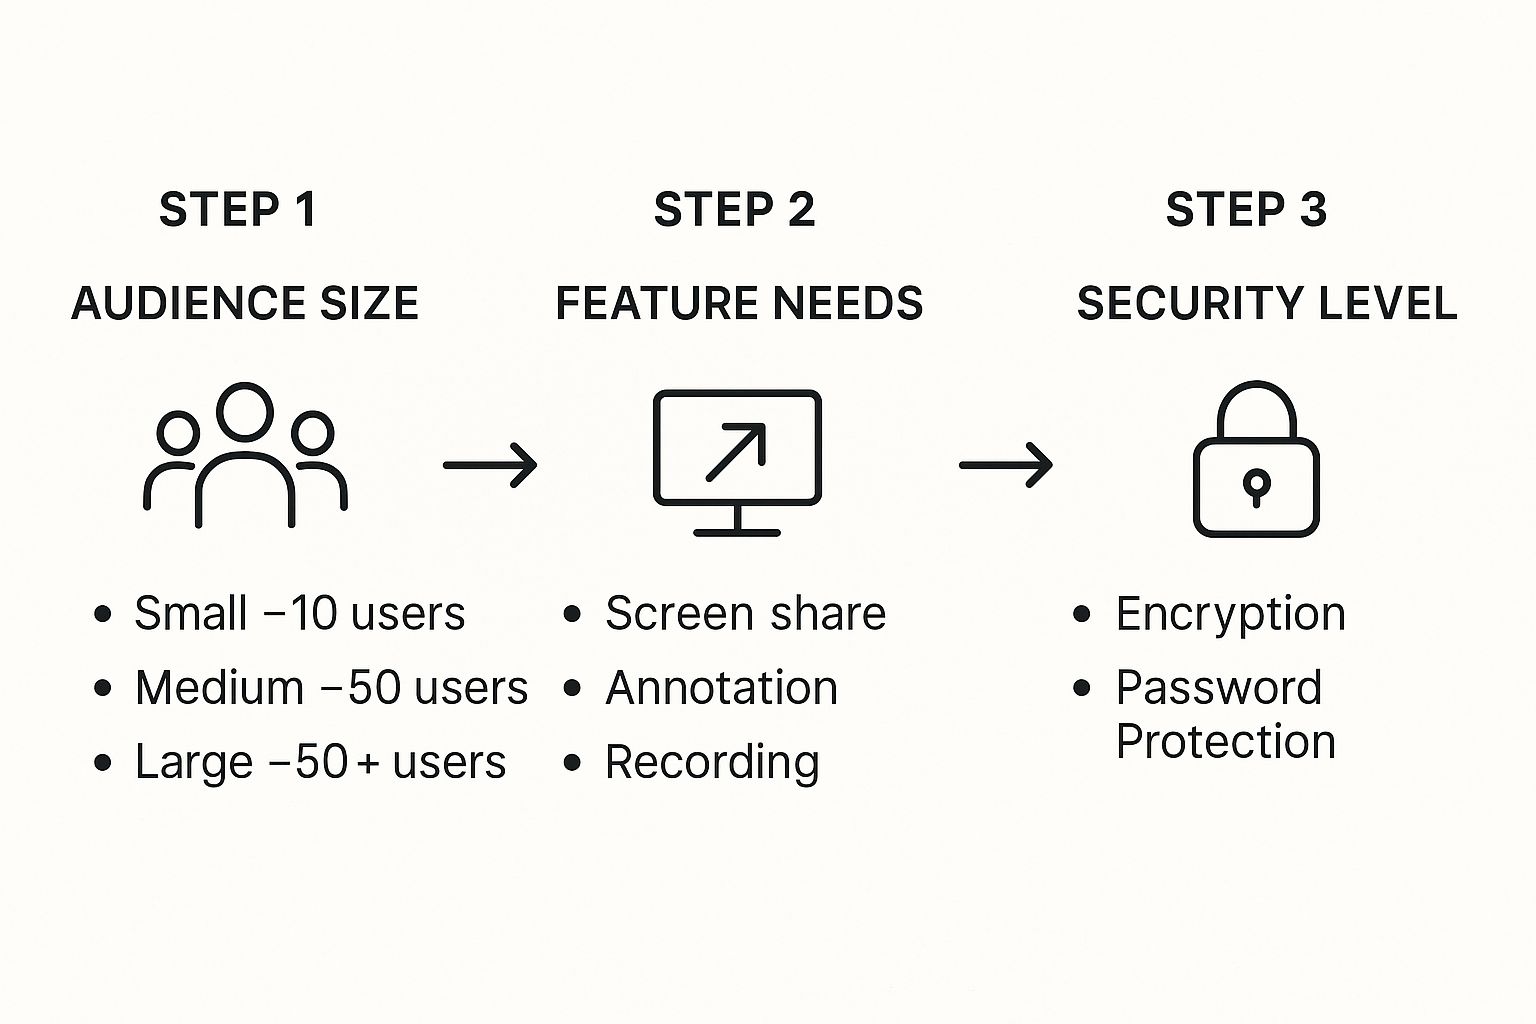
Tips and Best Practices
Knowing how to start a screen share is one thing. Doing it professionally and securely is another entirely. The small details you handle before you even click "share" are what separate a clean, focused presentation from a chaotic one.
- Prepare Your Digital Stage: Close unnecessary personal browser tabs, silence notifications with "Do Not Disturb" mode, and tidy up your desktop. A clean background conveys professionalism and prevents accidental privacy breaches.
- Choose What to Share Wisely: For most situations, sharing a single window is your best bet. It isolates the view to one application, keeping your presentation focused and secure. Only share your entire screen when you absolutely must demonstrate a workflow involving multiple applications.
- Use Two Monitors If Possible: For a truly polished delivery, keep your presentation on one screen and your meeting controls, notes, and chat on the other. This setup lets you manage the session smoothly without cluttering the view for your audience.
- Ensure Content Is Clear and Legible: Not everyone is on a giant monitor. While 1920x1080 is the most common resolution, many people watch on smaller laptops. Keep your text large, zoom in on important details, and avoid moving your mouse erratically. You can explore more screen resolution data to get a better sense of this.
For those who frequently share demos, creating a clean recording can be a great way to deliver a flawless presentation. If you're on a Mac, you might find our guide on how to screen record on your MacBook helpful.
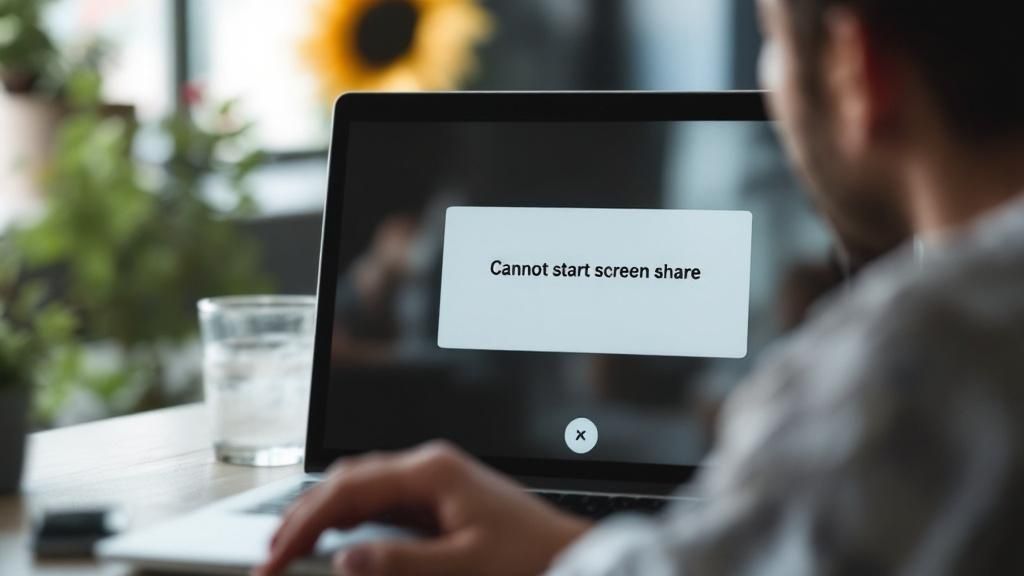
Troubleshooting Common Screen Sharing Problems
Even with the best prep, technical glitches happen. Knowing how to quickly fix the most common issues will keep you looking professional and get your meeting back on track.
- The Black Screen: If your audience sees a black void, it usually points to a conflict with your graphics card or a browser setting called hardware acceleration. Try disabling hardware acceleration in your browser or meeting app's settings. If that doesn't work, simply stopping and restarting the screen share often does the trick.
- Grayed-Out "Share" Button: This is almost always a permissions issue, especially on a Mac. Your operating system requires you to explicitly allow an app to "see" your screen. Head to your system's security and privacy settings, find the app you're using, and grant it screen recording access.
- Blurry or Lagging Share: The culprit here is almost always a weak internet connection. Close any apps and browser tabs you don't absolutely need. If you can, plug directly into your router with a wired Ethernet connection. As a last resort, try sharing just a single application window instead of your entire screen to reduce the data load.
- No Audio from Video: When you first start the share, you must find and check the box that says something like "Share computer sound." If you miss it, your audience will see the video but hear nothing. Stop the share, start over, and be sure to check that box. For tool-specific help, check our guide on troubleshooting audio in Google Slides.
The Future of Screen Sharing
The simple act of showing your desktop is getting a major upgrade. Screen sharing is quickly moving beyond a one-way presentation tool and becoming a smart, interactive, and collaborative workspace, fueled by AI and interactivity.
The global screen sharing software market is projected to grow significantly, driven by these new capabilities. For a closer look, you can dig into the latest screen sharing market trends. Key advancements include:
- Real-time Transcription and Translation: Breaking down language barriers for global teams.
- Interactive Co-browsing and Annotation: Allowing multiple people to click, scroll, and mark up shared content simultaneously.
- Enhanced Security and Privacy: Stronger end-to-end encryption and fine-tuned privacy controls to protect sensitive data.
This evolution is making virtual collaboration more efficient and productive. To see how different sharing methods stack up, check out our guide comparing screen recording vs. presentation recording.
FAQ
Here are answers to some of the most frequently asked questions about screen sharing.
Can people see my notifications when I'm sharing my screen?
Yes, if you share your entire desktop, every notification is visible. The best fix is to enable "Do Not Disturb" or "Focus" mode before you begin. For even better privacy, share a specific application window instead of your whole screen.
Why can't anyone hear the audio from my video?
This is a common issue. Most tools require you to manually enable audio sharing. When you start your share, look for a checkbox labeled "Share computer sound" or "Include system audio" and make sure it is checked.
What's the real difference between sharing a screen vs. a window?
Sharing your entire screen (or desktop) shows absolutely everything on your monitor, including pop-ups and other apps. Sharing a single window is cleaner and more secure, as it isolates the view to one specific app, like a presentation, and hides everything else.
How can I fix a blurry or lagging screen share?
Lag is almost always caused by a weak internet connection. Close unnecessary applications and browser tabs to free up bandwidth. For a more stable connection, use a wired Ethernet cable instead of Wi-Fi.
Conclusion
Mastering how to share a screen is a fundamental skill for today's professional world. By preparing your digital space, choosing the right sharing mode (window vs. entire screen), and knowing how to troubleshoot common issues, you can ensure your presentations are clear, professional, and impactful. These best practices will help you communicate more effectively and collaborate with confidence.
Call-to-Action
Ready to replace long meetings with clear, concise video updates? With ShotVu, you can record your screen, webcam, and audio in one click, share instantly, and gather feedback without the scheduling headache. Learn more and get started for free at ShotVu.