


Introduction
Ready to capture what’s on your screen with crystal-clear audio? Whether you’re creating a software tutorial, a training video, or a client demo, getting both the visuals and audio right is crucial for clear communication. This guide will show you how to record your screen with audio effectively, using everything from built-in tools to dedicated apps like ShotVu.
Why This Topic Matters
In today's digital world, a great screen recording is more than a technical task—it’s how you build credibility and connect with your audience. Think about the last time you watched a software demo with garbled sound or a presentation with laggy video. It instantly tanks the speaker's authority and makes the content a chore to follow. Knowing how to record your screen with audio the right way is a non-negotiable skill for effective communication.
The quality of your recording is a direct reflection of your work. A clean, crisp, and clear video can:
- Skyrocket engagement during online courses and training modules.
- Massively improve collaboration for remote teams sharing feedback or updates.
- Boost viewer retention for marketing videos, tutorials, and demos.
The demand for these skills is exploding. The global screen capture software market was valued at around $9.58 billion and is on track to hit $10.92 billion in the next year, driven by the shift to remote work and virtual learning. Creating a recording with clean visuals and clear audio isn't about chasing perfection; it's about removing distractions so your message shines through.
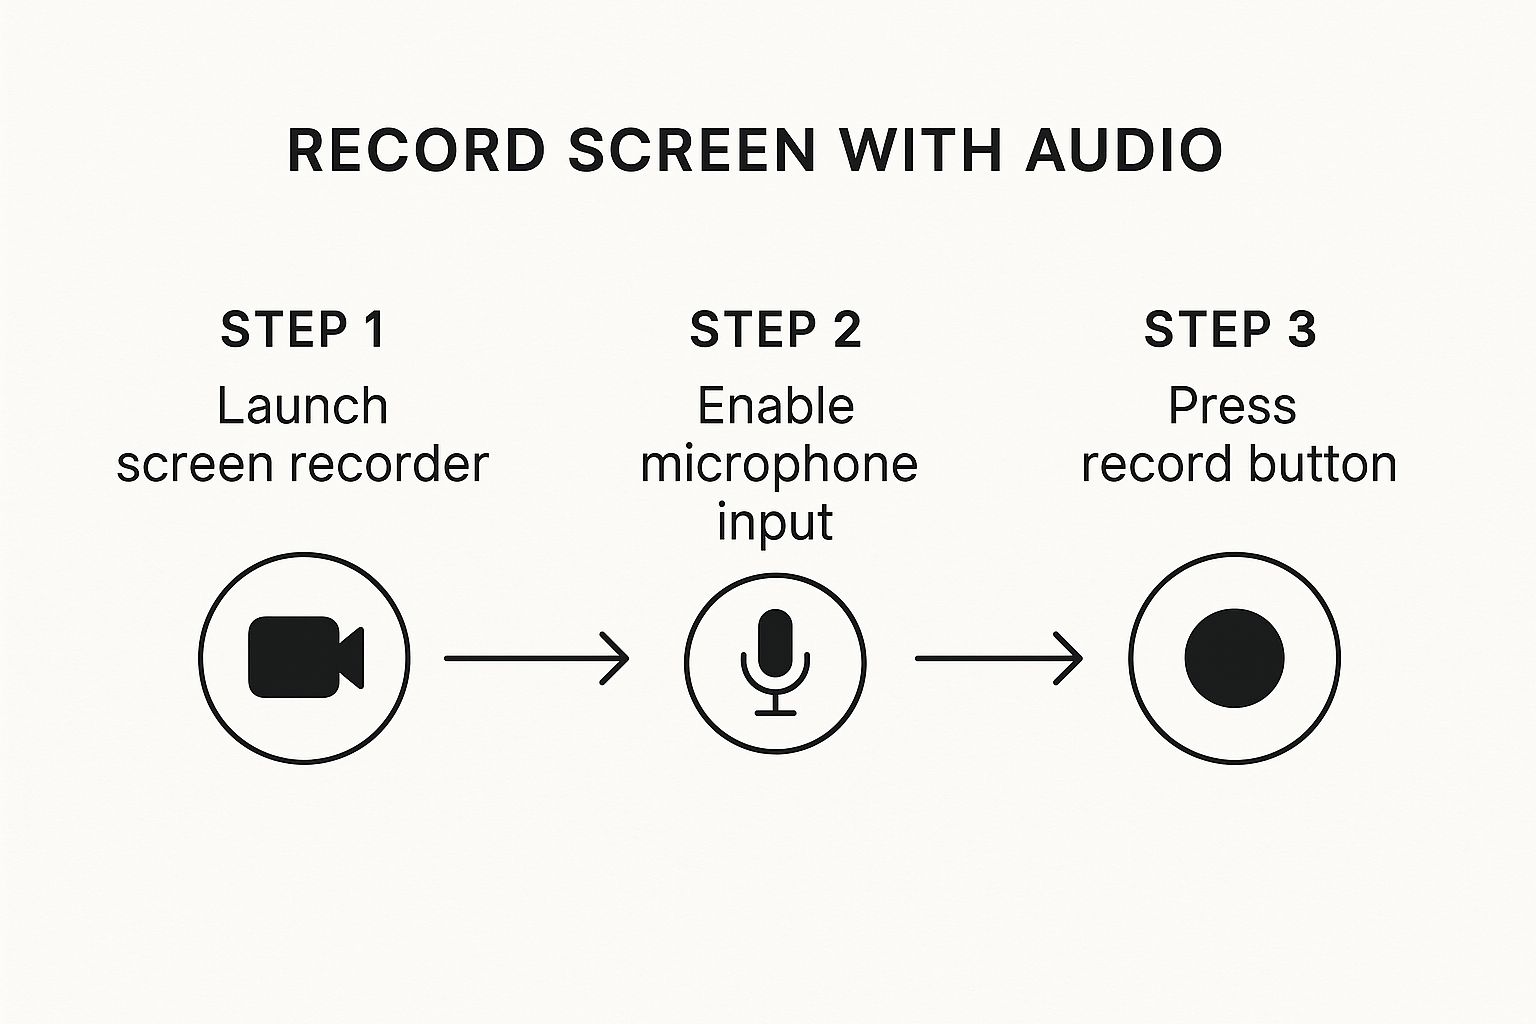
Step-by-Step Guide: How to Record Your Screen with Audio
Ready to get started? This step-by-step guide will walk you through the entire process, from setting up your space to saving your final video. Following these steps will help you create a polished, professional recording every time.
Step 1: Prepare Your Recording Environment
 Before you hit record, a few minutes of prep can save you hours of editing.
- Clean Your Digital Workspace: Close all unnecessary applications, browser tabs, and notifications. This prevents distractions and frees up your computer's resources, reducing lag.
- Find a Quiet Space: Record in a room where you won’t be interrupted. Close doors and windows to minimize background noise from traffic, pets, or other people.
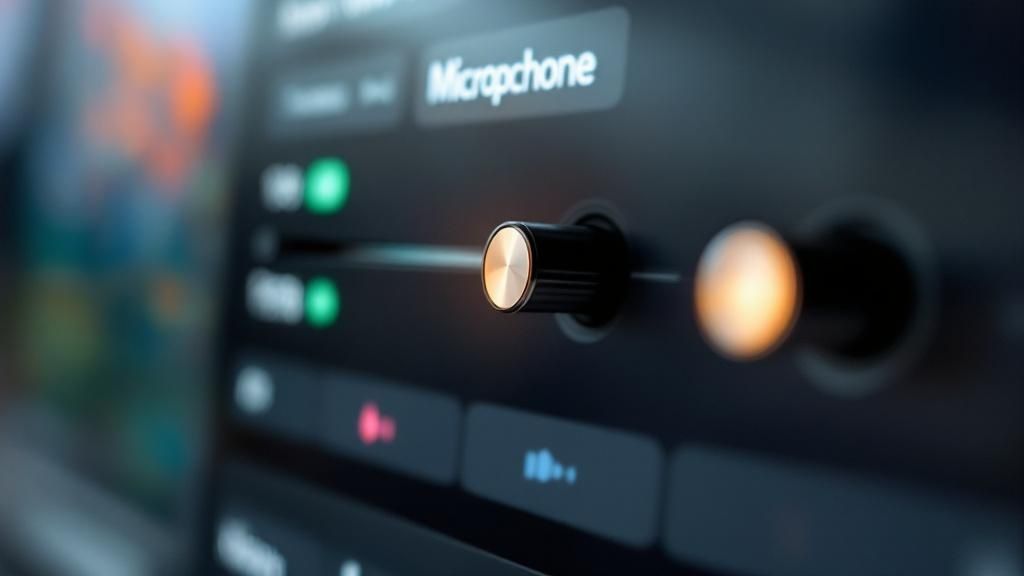
- Set Up Your Microphone: Use an external microphone if possible. Even a simple headset mic is a significant upgrade over your laptop’s built-in one. Position it to capture your voice clearly.
- Do a Sound Check: This is non-negotiable. Record a 10-second test to ensure your microphone and any system audio are being captured at the correct levels. This simple check can prevent you from discovering your mic was muted after a 30-minute recording.
Step 2: Choose Your Recording Area
 Next, decide what part of your screen to capture. Most screen recorders offer a few key options:
- Full Screen: Captures your entire monitor. This is ideal for workflows that involve switching between multiple applications.
- Application Window: Records only a specific app, like a web browser or software program. This is great for tutorials as it hides your desktop and other distractions.
- Custom Region: Lets you draw a box around the exact part of the screen you want to record. This is perfect for focusing on a specific feature or chart.
For most tutorials and demos, using the Application Window or a Custom Region creates a cleaner, more focused video.
Step 3: Configure Your Audio Sources
Getting the audio right is critical. You'll typically manage two sources:
- Microphone Audio: This is your voice narration. Go into your recorder's settings and select your external microphone as the input device. Avoid using your laptop's built-in mic for better clarity.
- System Audio: This includes all sounds from your computer, such as notification chimes or audio from a video playing on your screen. If your presentation includes sounds from your computer, you must enable this option.
A common mistake is forgetting to enable both sources when needed. If you're narrating over a video, ensure both your microphone and system audio are turned on.
Step 4: Capture and Finalize Your Recording
Now you're ready to record.
- Start Recording: Click the record button and begin your presentation or demo.
- Use the Pause Function: If you need to gather your thoughts or switch windows, use the pause button instead of stopping. This keeps everything in a single file and simplifies editing.
- Stop and Review: Once you're finished, stop the recording. Watch it back to check for major errors and confirm your audio is clear and synced with the video.
- Save and Export: Save your file in a universal format like MP4 for the best balance of quality and file size. Give it a descriptive name (e.g., "Onboarding_Demo_V1.mp4") to easily find it later.
Tips, Best Practices, and Common Mistakes
 To elevate your recordings from good to great, keep these expert tips and common pitfalls in mind.
- Best Practice: Use Real-Time Annotations. Guide your audience's attention by using drawing tools, arrows, or text highlights during the recording. This makes your instructions easier to follow and keeps viewers engaged.
- Best Practice: Integrate Your Webcam. Adding a picture-in-picture video of yourself builds trust and adds a personal touch. A tool like ShotVu makes it easy to add a webcam bubble, turning a sterile demo into a human conversation.
- Best Practice: Perform Simple Edits. You don't need to be a video editing pro. Use simple tools to trim awkward pauses at the beginning and end of your recording, cut out mistakes, and balance audio levels for a polished final product. For more specific advice, our guide on how to record a presentation with audio can help.
- Common Mistake: Forgetting to Check Audio Sources. The most common problem is recording without sound. Always perform a quick test to ensure your microphone and system audio are selected and working correctly.
- Common Mistake: Recording a Cluttered Screen. A messy desktop or constant notifications are distracting. Close unnecessary apps and choose a clean background before you start. For more detail, learn how to record audio on a Mac or PC cleanly.
- Common Mistake: Ignoring Video Performance. If your final video is choppy or lagging, your computer may be overloaded. Close background apps and consider recording at a lower resolution (e.g., 1080p instead of 4K) to improve performance. If you run into sync issues, check out our guide on troubleshooting audio in Google Slides.
Examples and Use Cases
Knowing how to record your screen with audio unlocks countless possibilities. Here are a few real-world applications where this skill is invaluable:
- Corporate Training & Onboarding: Create a library of training videos that new hires can watch on demand. Record a walkthrough of company software, a tutorial on submitting expense reports, or a presentation on company policies. This ensures consistent training and saves valuable time.
- Software Demos for Sales & Marketing: Instead of a live demo for every potential client, record a detailed walkthrough of your product's key features. This can be shared as a marketing asset or sent to warm leads, allowing them to explore your software at their own pace.
- Educational Tutorials & Online Courses: For educators and content creators, screen recordings are essential. You can teach coding, demonstrate graphic design techniques, explain complex concepts using digital whiteboards, or show how to record slides with audio. Clear audio and visual guidance are key to student success.
- Technical Support & Bug Reporting: When you encounter a software bug, a screen recording showing the issue is far more effective than a written description. Record the steps that lead to the error to help support teams diagnose and fix the problem faster.
FAQ
Here are answers to some frequently asked questions about screen recording with audio.
1. Can I record my screen and microphone at the same time? Yes, absolutely. Modern screen recorders like ShotVu are designed for this. In the settings, you can easily enable both your microphone (for your voice) and system audio (for computer sounds) to capture them simultaneously. Always do a quick test recording to ensure both are working correctly.
2. What is the best free software to record my screen with audio? For basic recordings, built-in tools like Windows Xbox Game Bar and macOS's Screenshot utility (Cmd+Shift+5) work well. For more features, OBS Studio is a powerful free option but has a steep learning curve. A tool like ShotVu’s free plan offers a great balance of user-friendly design and robust features without the complexity.
3. Why is there no sound in my screen recording? This is the most common issue and usually has a simple fix. Check three things:
- Correct Mic Source: Ensure your preferred microphone is selected in the recorder's settings.
- System Permissions: Verify that your operating system has granted the recording app permission to access your microphone.
- System Audio Enabled: If you need to capture computer sounds, make sure the "System Audio" or "Desktop Audio" option is turned on.
4. How can I record just one part of my screen? Most screen recorders allow this. Look for an option like "Custom Region" or "Select Area." This lets you draw a box around the specific portion of the screen you want to capture, which is perfect for creating a focused, professional-looking video.
5. How do I fix choppy video or lag in my recording? Choppy video is typically a computer performance issue. Before recording, close all unnecessary applications and browser tabs. If the problem persists, try reducing the recording resolution (e.g., from 4K to 1080p). This lessens the strain on your computer and often results in a smoother video.
Conclusion
Mastering how to record your screen with audio is a powerful skill that enhances communication, training, and content creation. By following a clear preparation and recording process—from setting up your workspace to choosing the right audio sources—you can consistently produce high-quality videos. Remember to leverage best practices like using a webcam and simple edits to add a professional touch that engages and impresses your audience.
Call-to-Action
Ready to create polished, professional screen recordings without the hassle? ShotVu makes it easy to capture your screen, webcam, and audio in just a few clicks. Stop wrestling with complicated software and start sharing your ideas instantly. Try ShotVu for free today!
Article created using Outrank