


Introduction
Knowing how to record a video presentation is more than just a useful skill these days—it’s essential. This guide will walk you through everything you need to know, from setting up your space and choosing the right software to delivering a confident performance and editing your final video for a professional polish. You'll learn the practical steps to create a polished, persuasive, and genuinely engaging piece of content that lands your message, whether it's for a sales pitch, an online lecture, or a vital team training.
Why This Topic Matters
In a world full of remote teams and online learning, your ability to deliver a great video presentation can be your most powerful communication tool. A well-made recording lets you connect with your audience, build authority, and get your point across with real impact, no matter where people are watching from. This shift to video isn't just a hunch; it's a massive economic trend. The global market for digital video content, which includes all these recorded presentations, tells the story. Valued at USD 214 billion in 2024, experts project it will explode to USD 574 billion by 2033. That's a growth rate of 10.37% every single year.
The real magic of a recorded presentation is that it's asynchronous. Instead of juggling calendars, you create one solid asset that your team, clients, or students can watch whenever it works for them. This approach pays off in several key ways:
- Deeper Engagement: Viewers can pause, rewind, and absorb the material at their own pace.
- Greater Accessibility: It’s a perfect solution for global teams, accommodating different time zones.
- Total Clarity: You get the chance to perfect your delivery, free from the distractions of a live call.
- Scalable Knowledge: One great recording can be used to onboard every new hire or train an entire department.
Step-by-Step Guide: How to Make a Video of Your Presentation
Here’s a complete workflow to take you from initial idea to a polished, shareable video.

Step 1: Prepare Your Content and Space
Before you even think about hitting that record button, preparation is key. A little time spent here is your best defense against hours of frustrating edits later.
- Craft Your Content: Write a conversational script. Don't write like you're submitting a thesis; use short, punchy sentences. Read it out loud to check for flow. Design visually compelling slides with minimal text—think high-quality images and clean charts. This is crucial whether you need to record a PowerPoint presentation with audio and video or want to record Google Slides presentation with narration.
- Prepare Your Physical Space: Your environment has a massive impact. Find a quiet room and close the door. Soft furnishings like carpets and curtains absorb echo. For lighting, sit facing a window for natural light or place a lamp in front of you. Ensure you have a clean, uncluttered background to keep the focus on you.
Step 2: Choose Your Recording Tools
The software and hardware you pick will make a huge difference. The good news? You don’t need a Hollywood budget to get fantastic results.

- Select Your Software: Your software is your command center. You can use built-in recorders in Microsoft PowerPoint or Apple Keynote for simple projects. For more control, a dedicated online video presentation recorder like ShotVu or Loom is ideal. For pro-level features on a budget, OBS Studio is a powerful free option.
- Get Your Hardware Ready: While your laptop's built-in gear works, two small upgrades make a big difference. An external USB microphone delivers crisp, clear audio, essential for a professional-sounding recording slideshow with audio. A 1080p external webcam will give you a much sharper image, which is vital when you record yourself presenting slides.
Step 3: Record Your Presentation
All the prep work is done. It’s time for the main event.
- Do a Tech Check: Open your chosen software. Whether you plan to record a presentation on Mac or how to record a presentation on Windows, do a quick 10-second test recording to ensure your mic and camera are working correctly.
- Start Recording with Confidence: Press record and focus on your delivery. Look directly at the camera lens to create eye contact with your viewers. Speak with slightly more energy than you would normally, and use natural hand gestures. Don't worry about small mistakes; you can edit them out later. The process is similar if you need to record a Zoom presentation with slides or record Teams presentation with video—just hit the record button in the meeting controls.
Step 4: Edit Your Video
This is where you transform your raw footage into a polished final product. Good editing respects your audience's time and attention.
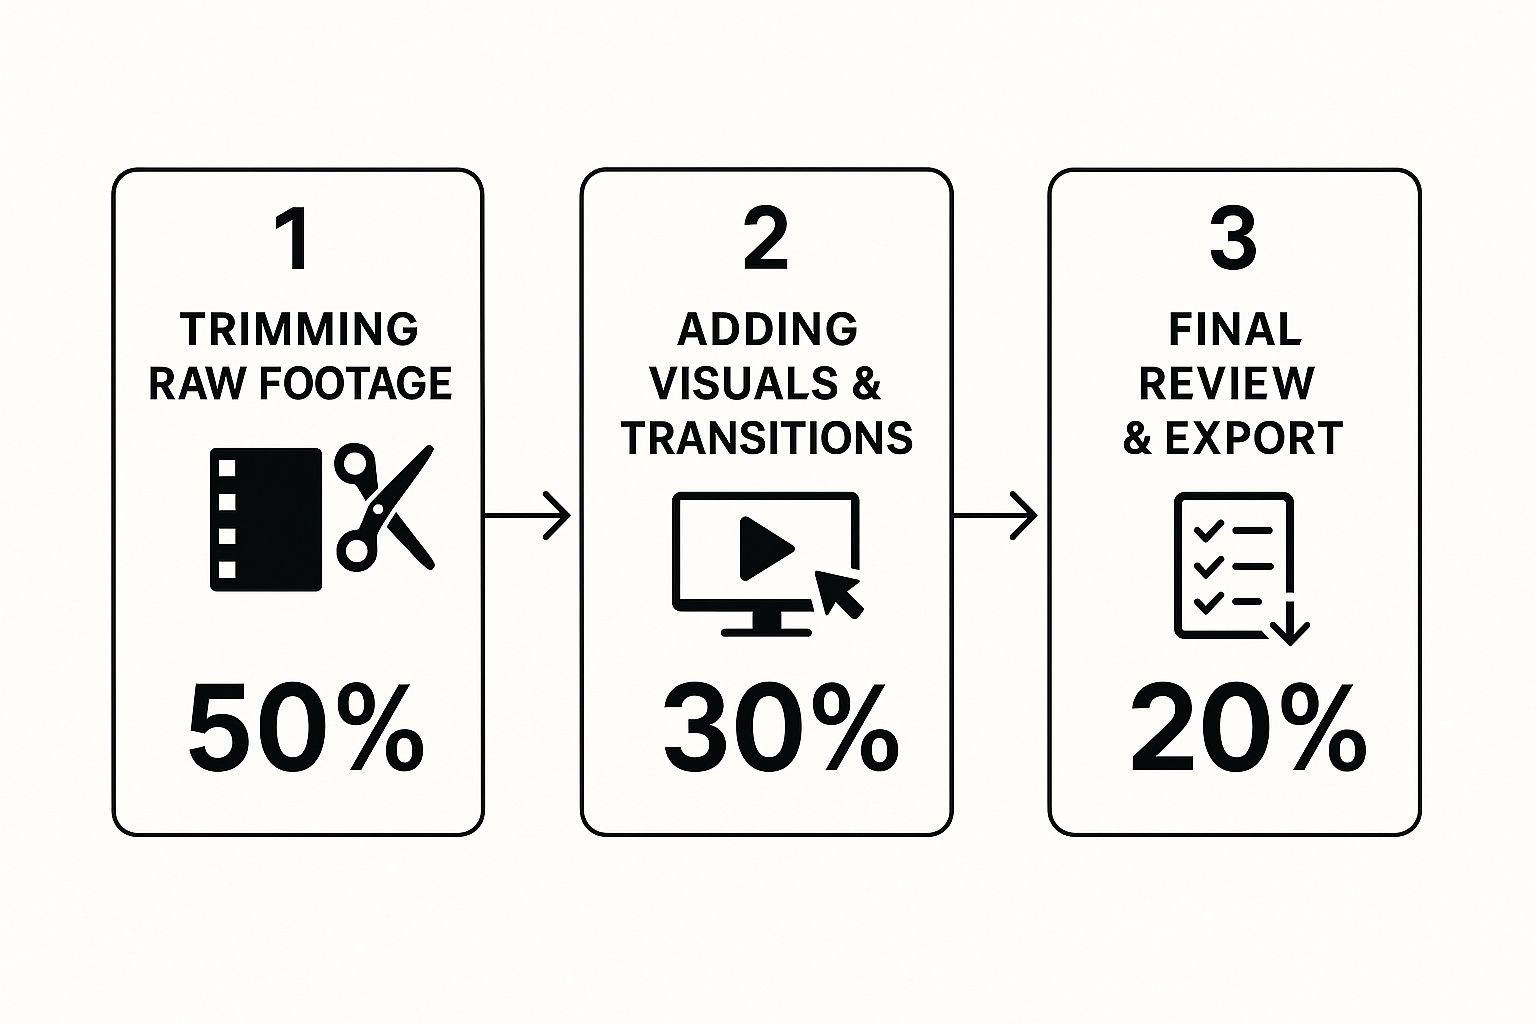
- Clean Up the Footage: The first step is to trim the awkward start and end of your recording. Then, cut out any coughs, long pauses, or stumbles. This tightening of pace makes you sound more confident.
- Add Enhancements: A simple title card intro and an outro with a call-to-action give your video a professional structure. You can also add a "lower-third" graphic with your name and title. Finally, a subtle, quiet instrumental track can make the presentation feel more cohesive. For specific platform tips, check our guide on how to edit a screen recording on Mac.
Tips, Best Practices, & Common Mistakes
Here are some key presentation video recording tips to help you avoid common pitfalls and create a better final product.
- DO Script Your Presentation: A conversational script keeps you on track and prevents rambling. It's the secret to a confident record presentation with voiceover.
- DON'T Overload Your Slides: Your slides are visual aids, not a teleprompter. Use minimal text and focus on one main idea per slide to keep your audience listening to you.
- DO Use an External Microphone: This is the single best investment for improving quality. Clear audio is non-negotiable for a professional feel.
- DON'T Forget About Lighting: Avoid sitting with a bright window behind you. Face your light source to ensure your face is clearly visible.
- DO Look at the Camera Lens: This creates a direct connection with your audience. It feels strange, but it makes a huge difference in how you're perceived.
- DON'T Be Afraid to Edit: Nobody nails it in one take. Editing is your friend. Cut out mistakes and tighten the pacing to respect your viewer's time. This is a crucial step when you edit a recorded presentation.
For more in-depth advice, explore our professional presentation recording tips.
Examples: Recording Software in Action
Choosing the best software for recording presentations depends on your specific needs. Here’s a quick comparison to help you decide.
| Tool | Best For | Platform | Key Feature | Price |
|---|---|---|---|---|
| ShotVu | Creators and teams needing fast, high-quality recording and sharing | Web-based (All) | Instant cloud sharing & webcam layouts | Freemium / Paid |
| Loom | Quick async team communication | Web, Mac, Windows, Mobile | Fast recording and commenting | Freemium / Paid |
| Camtasia | Detailed tutorials with advanced editing | Mac, Windows | Powerful video editor | Paid (One-time) |
| OBS Studio | Live streaming and complex productions | Mac, Windows, Linux | Total scene and source control | Free |
| PowerPoint | Simple, narrated slide decks | Mac, Windows | Native integration with slides | Included with 365 |
Each video presentation maker has its strengths. If you need to quickly record a presentation for YouTube or share a team update, a tool like ShotVu or Loom offers the best balance of power and simplicity. If you're doing video recording for online courses, a more robust editor like Camtasia might be a better fit.
FAQ: Frequently Asked Questions
Here are answers to some common questions about how to record a video presentation.
What is the best free software to record a video presentation? For a free tool that does it all, OBS Studio is the champion on both Windows and Mac. It allows you to mix your screen, a high-quality screen capture presentation with facecam, and audio sources. For simpler needs, the built-in recorder in PowerPoint is great, as are the free plans for tools like Loom. The Xbox Game Bar on Windows and QuickTime on Mac are also solid free tools to record presentations.
How do I record a PowerPoint presentation with audio and video? Microsoft PowerPoint has a built-in recording feature. Go to the "Record" tab (or "Slide Show" > "Record Slide Show" in older versions). Here, you can choose to record your webcam and microphone along with your slide timings and ink annotations. This makes it easy to add narration to PowerPoint recording slide-by-slide.
How can I improve my audio quality without an expensive microphone? Great audio comes from controlling your environment. Record in a small, quiet room with soft furnishings (like carpet or curtains) to reduce echo. Instead of your laptop's built-in mic, use a simple headset or the wired earbuds from your phone. Getting the microphone closer to your mouth is the most effective way to improve clarity.
How do I look confident and natural on camera? Practice is key. The most important tip is to look directly into the camera lens, not at your own image on the screen. Sit up straight, smile, and use natural hand gestures. Doing a few practice runs before you record yourself presenting slides will make you more comfortable with your material, allowing your natural confidence to shine through.
What is the ideal length for a recorded video presentation? It depends on your audience and purpose. For internal training or academic lectures, 20-40 minutes can work if the content is engaging. For marketing videos or if you plan to record a presentation for YouTube, aim for 5-15 minutes. If your topic is complex, break it into a series of shorter, focused videos.
Conclusion
Mastering how to record a video presentation is a crucial skill in today's digital-first world. By focusing on solid preparation, choosing the right tools for your needs, delivering with confidence, and applying a few simple editing techniques, you can create professional and impactful videos that engage your audience. Remember, the goal isn't perfection; it's clear, effective communication. Whether you need to record a Keynote presentation with audio or screen record a class presentation, these principles will set you up for success.
Call-to-Action
Ready to create stunning, professional-quality video presentations with ease? ShotVu gives you all the tools you need—from one-click recording and a built-in teleprompter to instant cloud sharing. Stop wrestling with complicated software and start creating polished videos that engage your audience. Try ShotVu today!